
Agentic Coding a FastHTML RAG Eval App

This lesson is based on a talk Isaac gave as part of Hamel Husain and Shreya Shankar’s excellent AI Evals for Engineers & PMs course.

The techniques presented here are not specific to developing tooling for evals — they are universally applicable for any situation where you want to create a custom web app easily with AI assistance.
Hi, I'm Isaac. In this post, I’m going to walk you through creating a FastHTML annotation app, but with a twist. Instead of coding it all by hand, we're going to use an AI coding assistant and apply best practices for agentic development workflows.
Last time, I did a deep dive into FastHTML, how HTMX works, and how you would manually code an application from scratch. That content is all still freely available, and I encourage you to check it out if you want to understand the underlying framework. This time, we'll focus on the process of guiding an AI to build the app for us. This demonstrates a powerful, modern workflow that leverages AI to handle the tedious parts of development, letting you focus on the high-level architecture and goals.
In reality, there are times you need to be hands-on and other times you can delegate to an agent. This post is focused on techniques to help you get the most out of AI assistance.
The embedded video covers a live talk where I dive into the details of the techniques, and I am asked questions along the way. The text post below shows screenshots from the actual coding process where I applied the techniques live.
Playwright MCP Servers
To build effectively, an AI agent needs context, just like a human developer. A key part of this is providing dynamic context through a Model Context Protocol (MCP) server.
I'm running an MCP server locally, I created with FastMCP to give the AI model a few extra crucial tools [01:06]:
The actual MCP server, ruler context and small instructions used in the demo can be downloaded here if you’d like to try it yourself
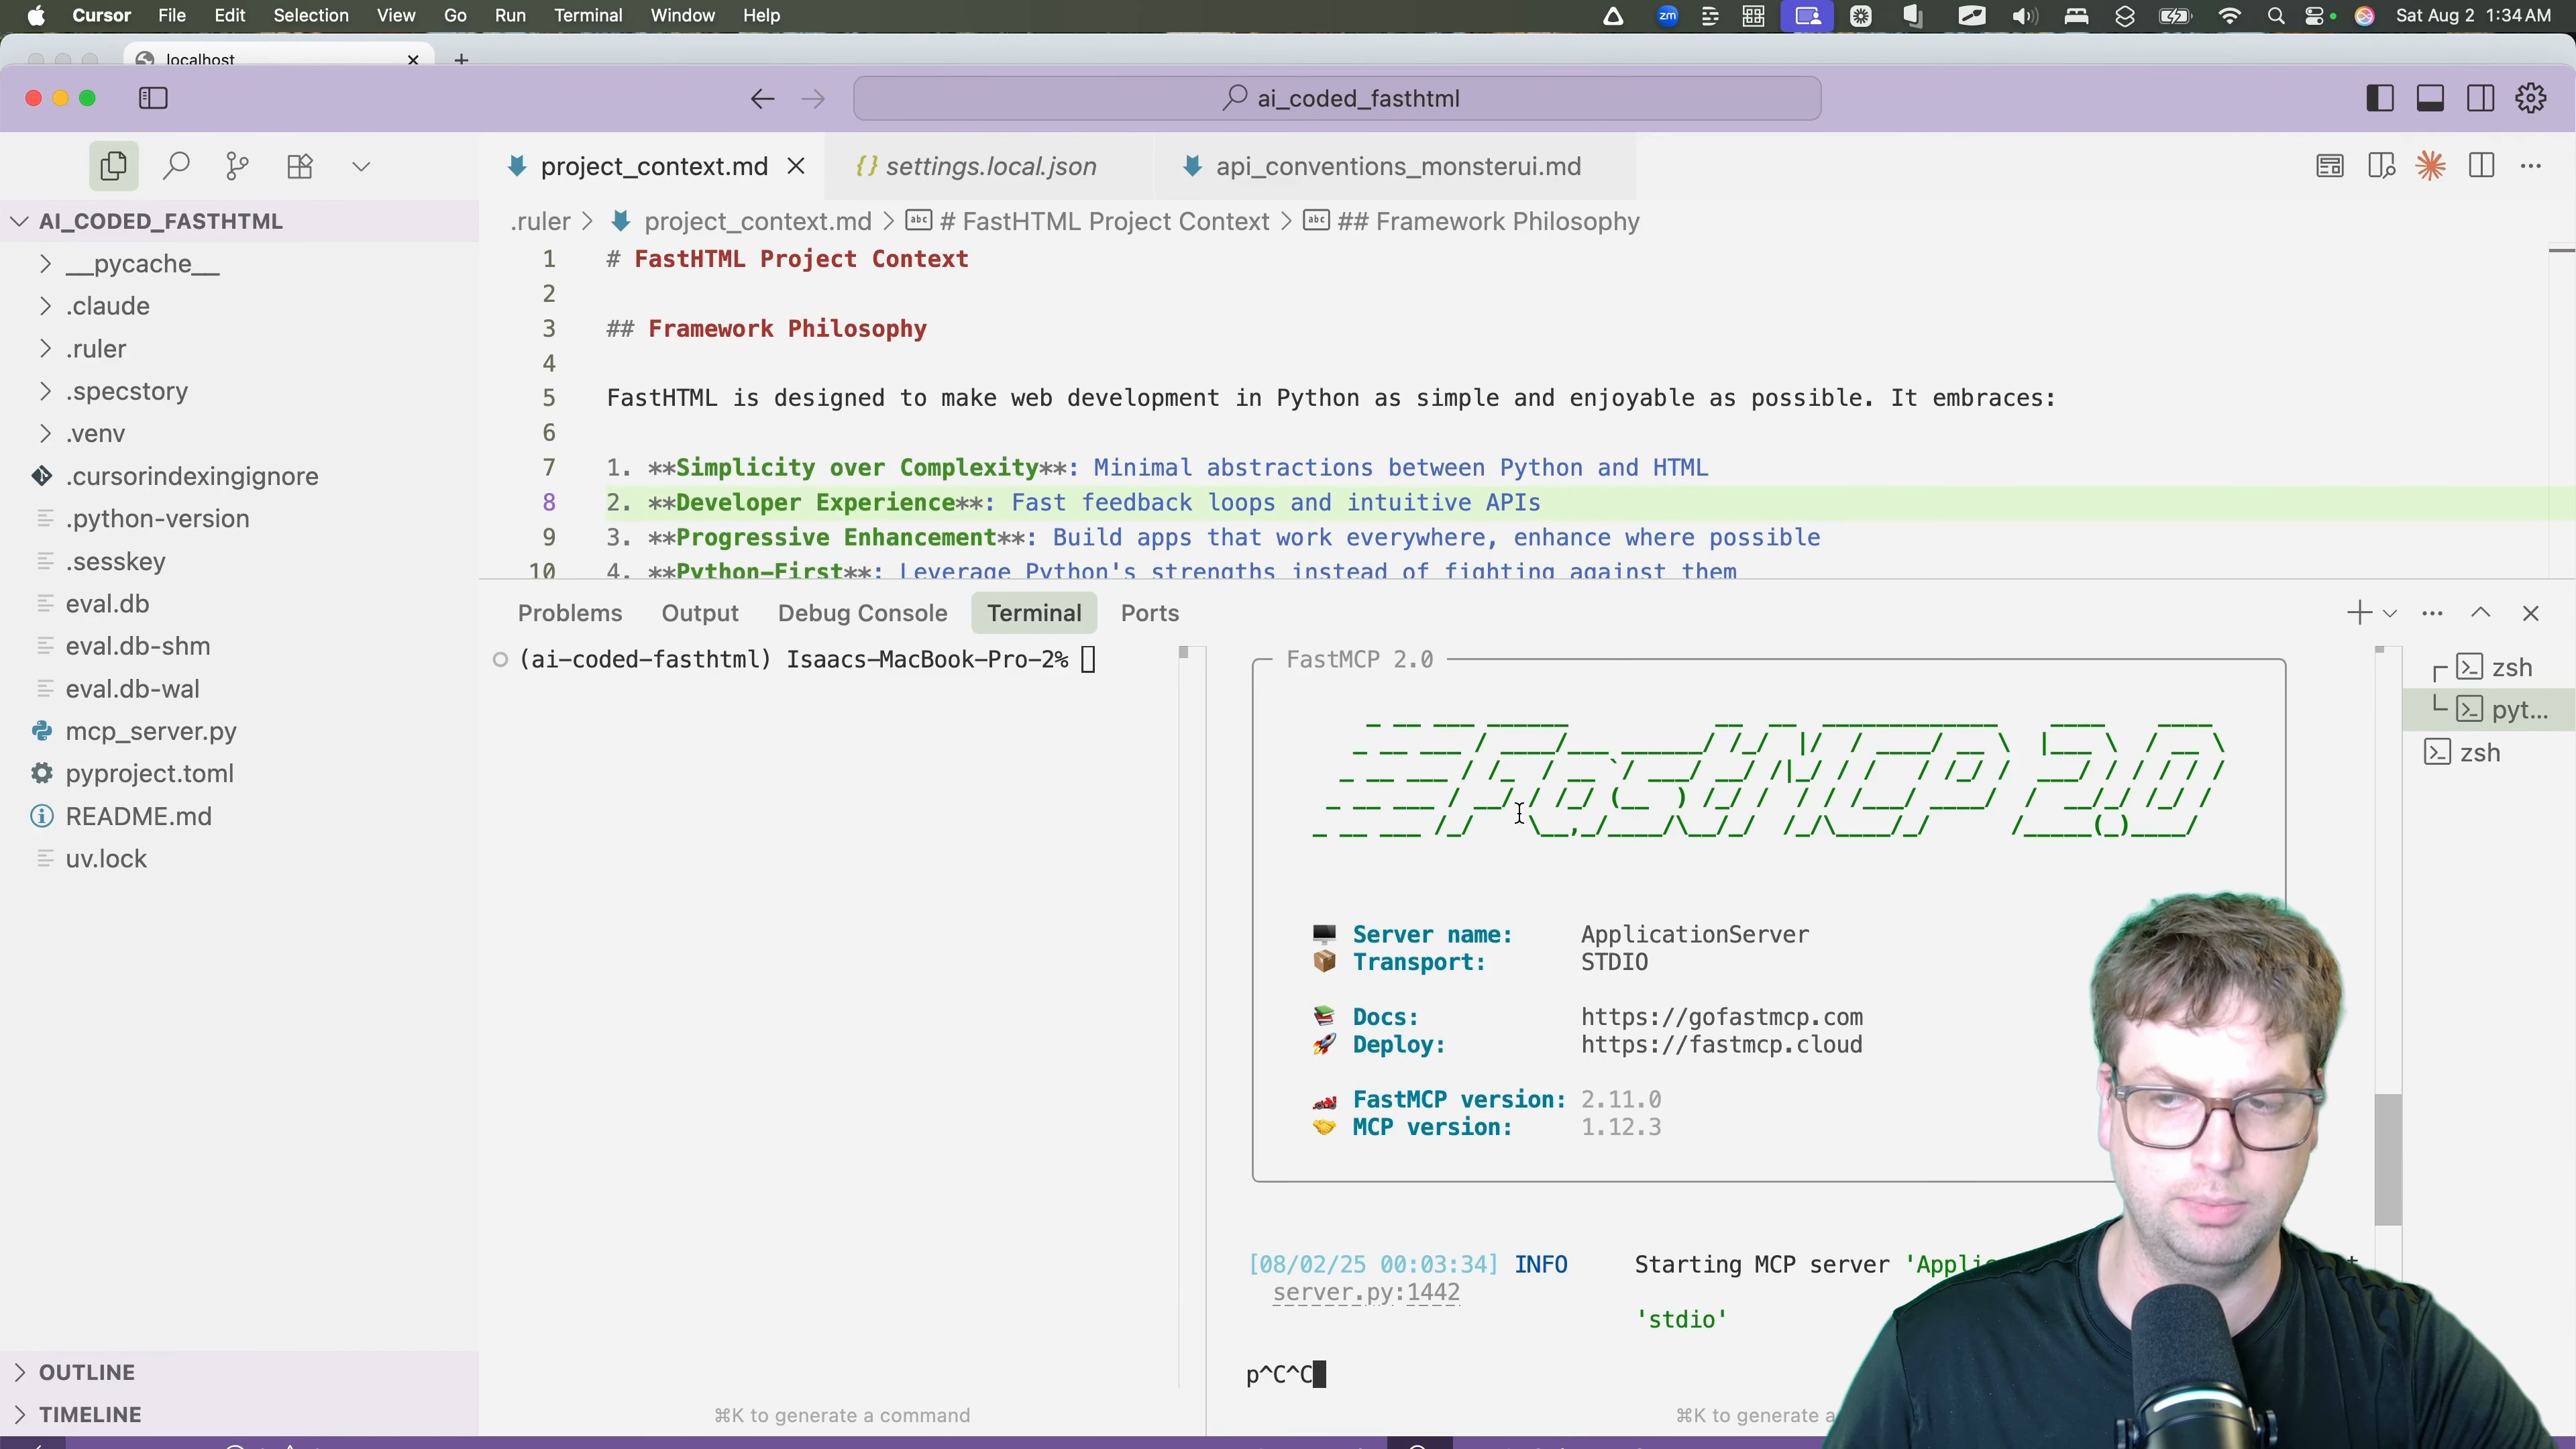
This MCP server allows the app to do several things
Start and Stop my local web app I am developing
Navigate to different pages and click on things to interact
Query server and browser console logs
When you're developing a web app, you constantly run it, click around, and check the browser console errors, server logs, etc then copy and paste back. The MCP server gives the agent that same critical feedback loop so lets it catch issues before they get to you.
Static Context with Ruler Files
Alongside dynamic context from the MCP server, we also need to provide static context. This includes project-specific guidelines, architectural patterns, and information about the frameworks we're using. FastHTML and Monsterui are relatively new and you will not get as good AI assistance for it out of the box as other frameworks. However, if you're using good context management it's totally fine (and you shoud be doing this with more popular frameworks too!). For this, ruler is the right way to do this.
My ruler files contains information on how I like to structure FastHTML apps, details about my API, how records work, and other conventions [02:00].
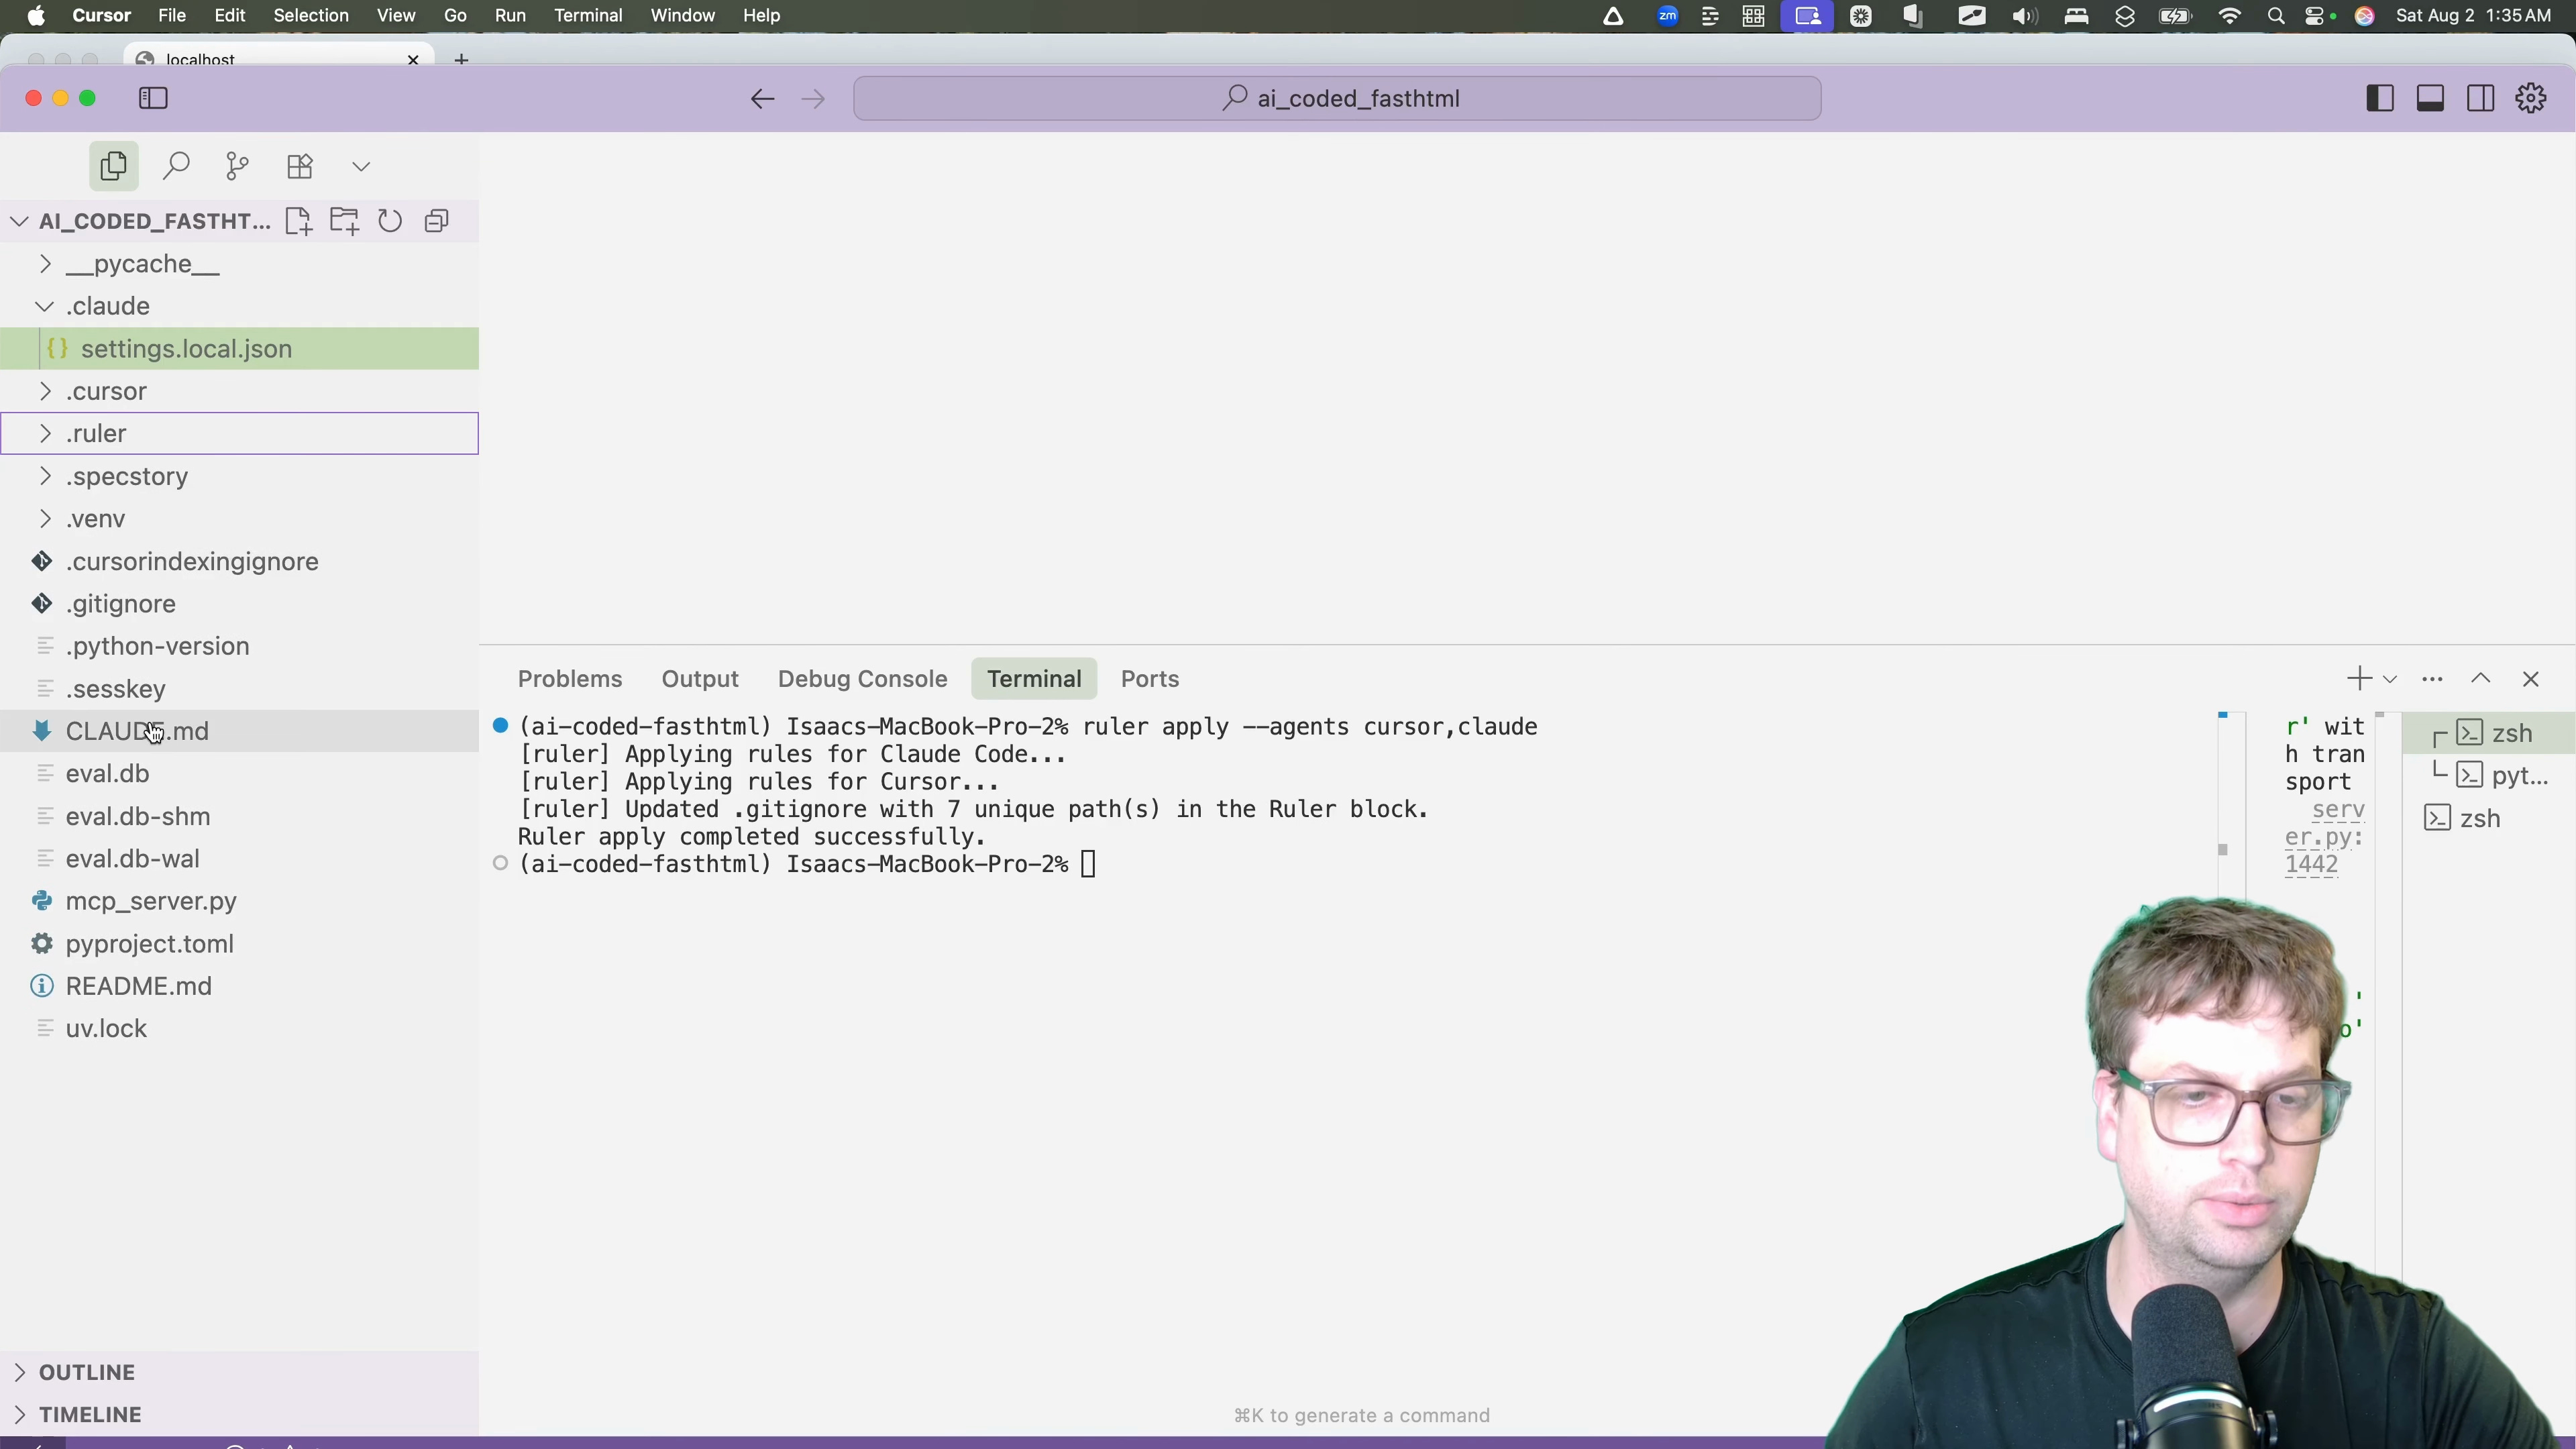
With a command, I can apply these rules to various AI tools, ensuring consistent context everywhere. For this project, I'm exporting it for Cursor and Claude.
ruler apply --agents cursor,claude
This command automatically creates the necessary configuration files (.cursor/ directory and claude.md) for each tool, giving me a single source of truth for my project's context [02:33].
> This is particularly useful for teams. The entire team can manage shared context, while letting them use that context in any tool they are using easily/
📦 Get a .zip file with the complete context and use it in your own projects 👈
Launching Claude with MCP Integration
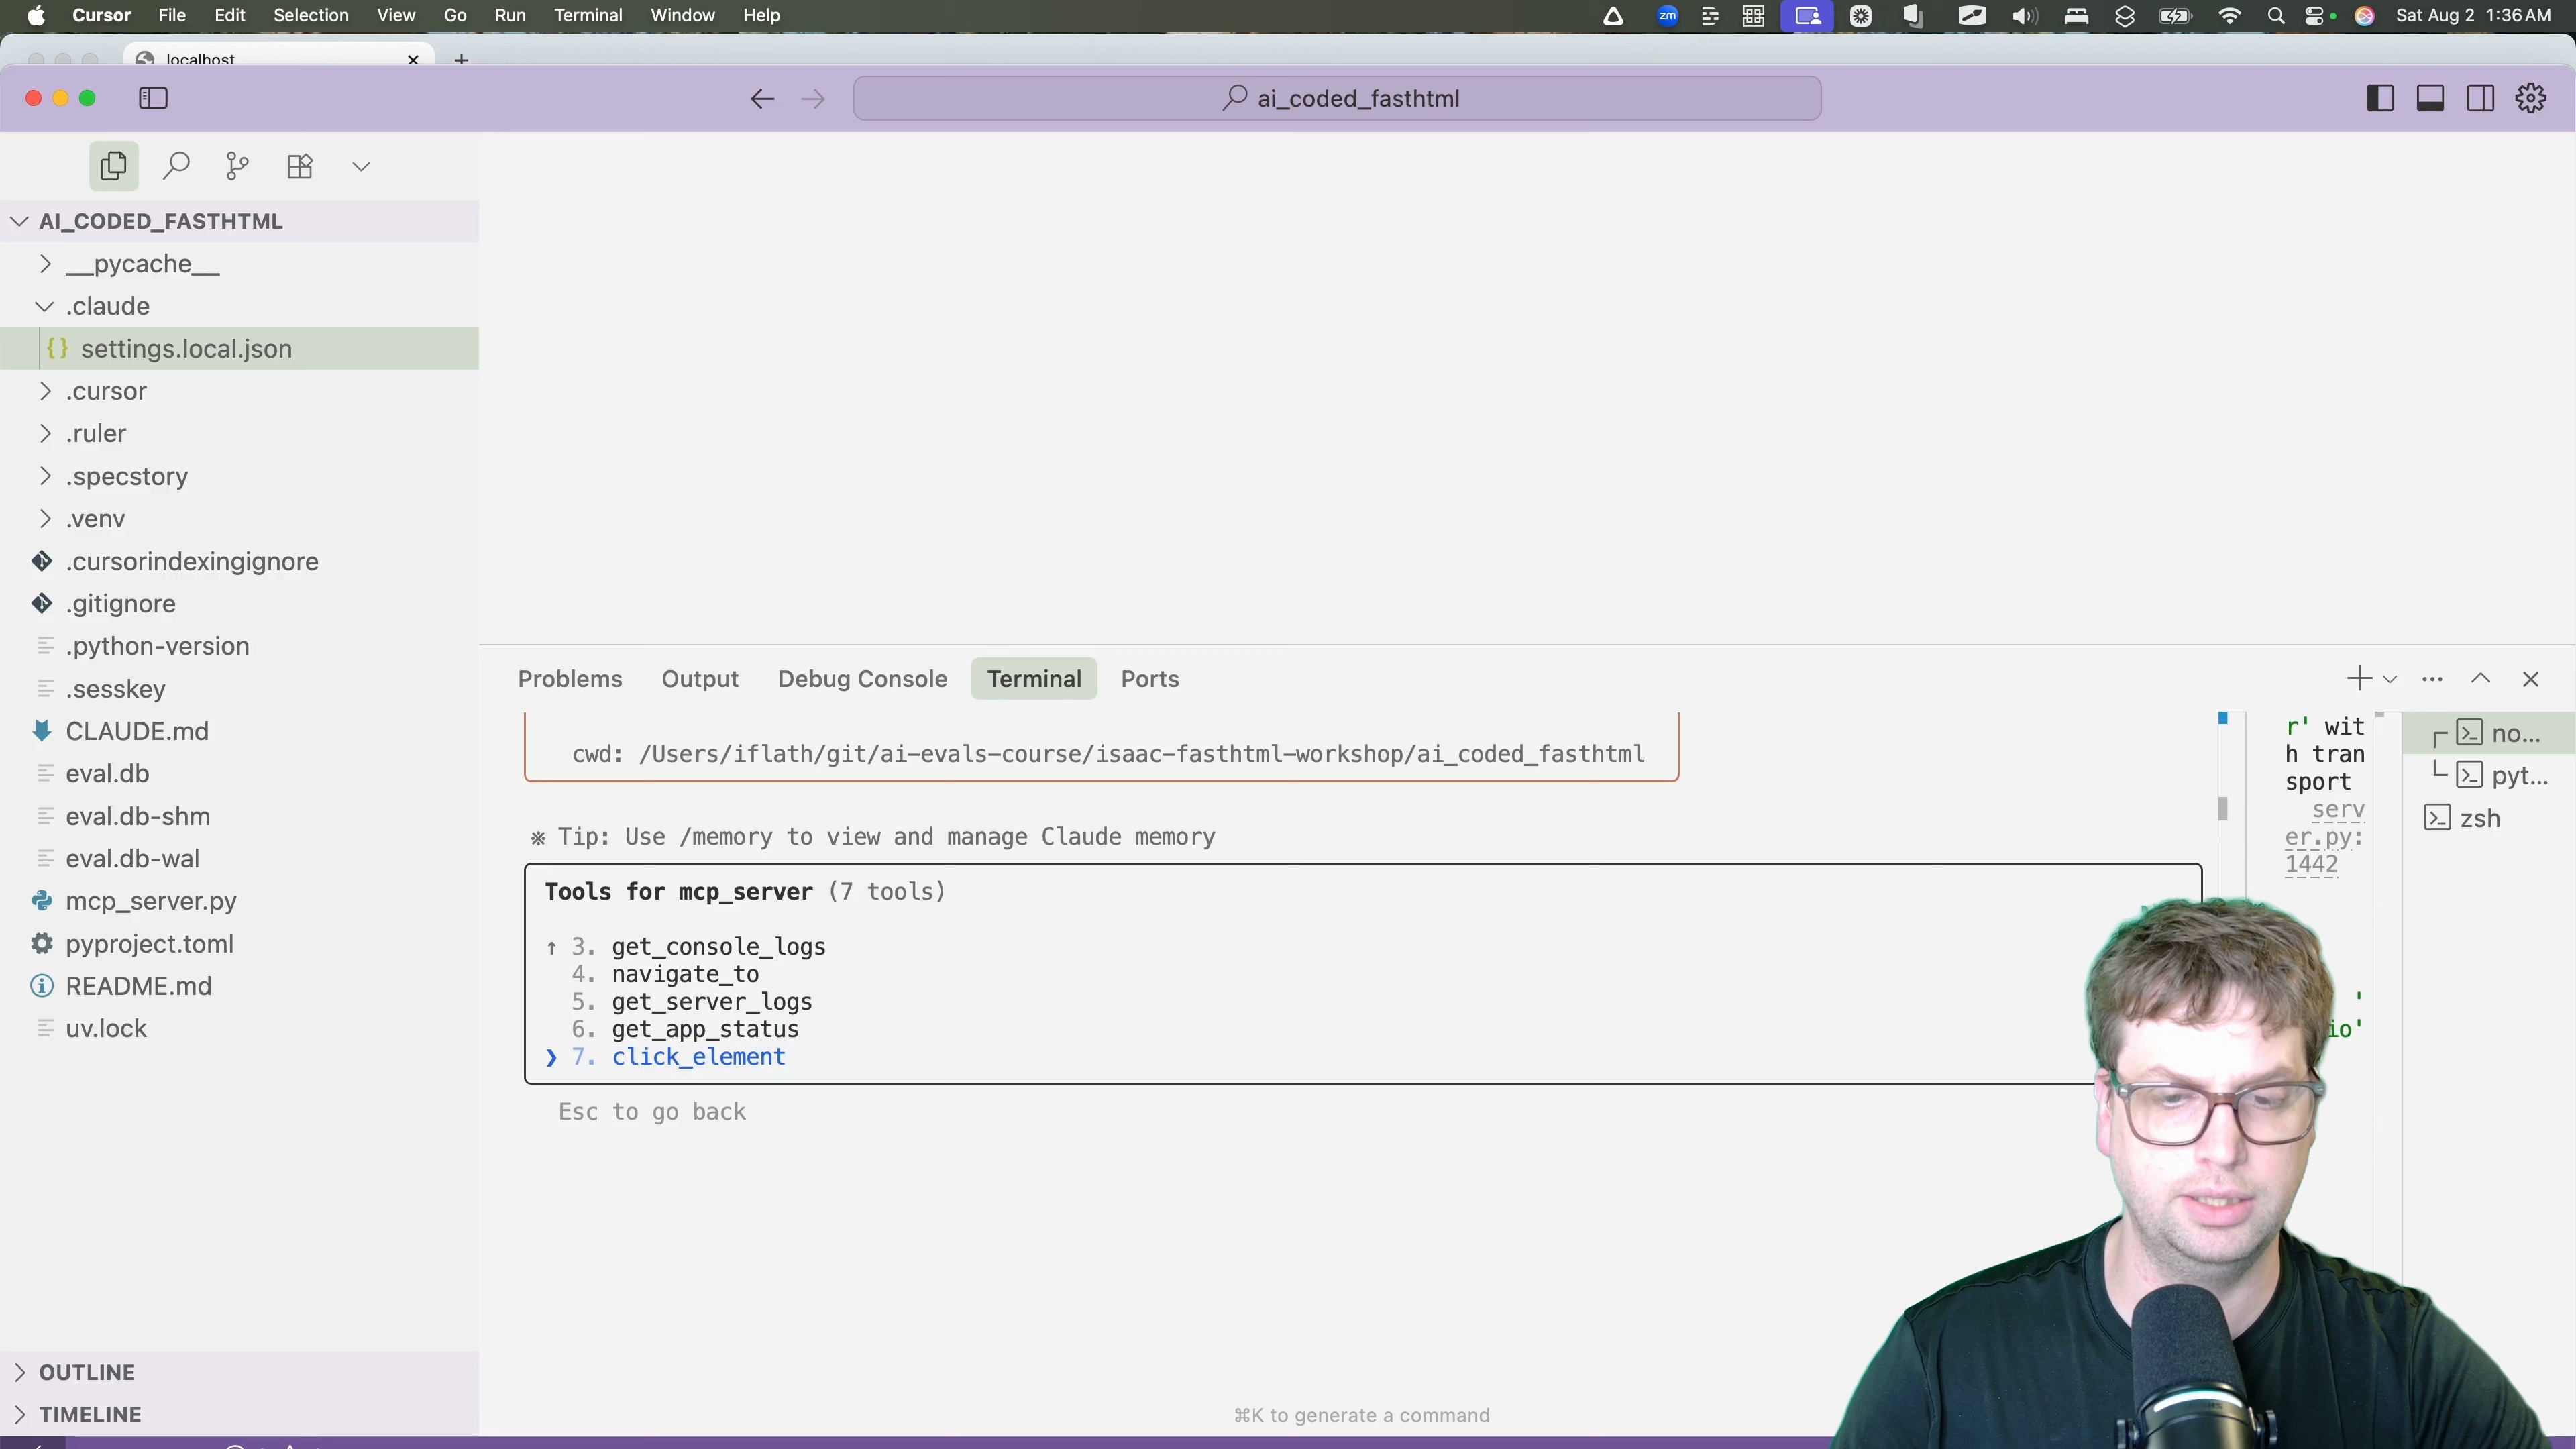
With our context in place, we can launch our AI assistant. I'm using Claude Code within Cursor. By typing /mcp, I can confirm that it's successfully connected to the MCP server and has access to all the tools we defined [02:54]. It can see commands for navigating, clicking elements, getting logs, and more.
Creating the Initial Plan
Before writing a single line of code, the most important step in an agentic workflow is to create a clear plan. This prevents the AI from over-engineering a solution or going down the wrong path.
I give the AI a clear, high-level prompt describing the goal.
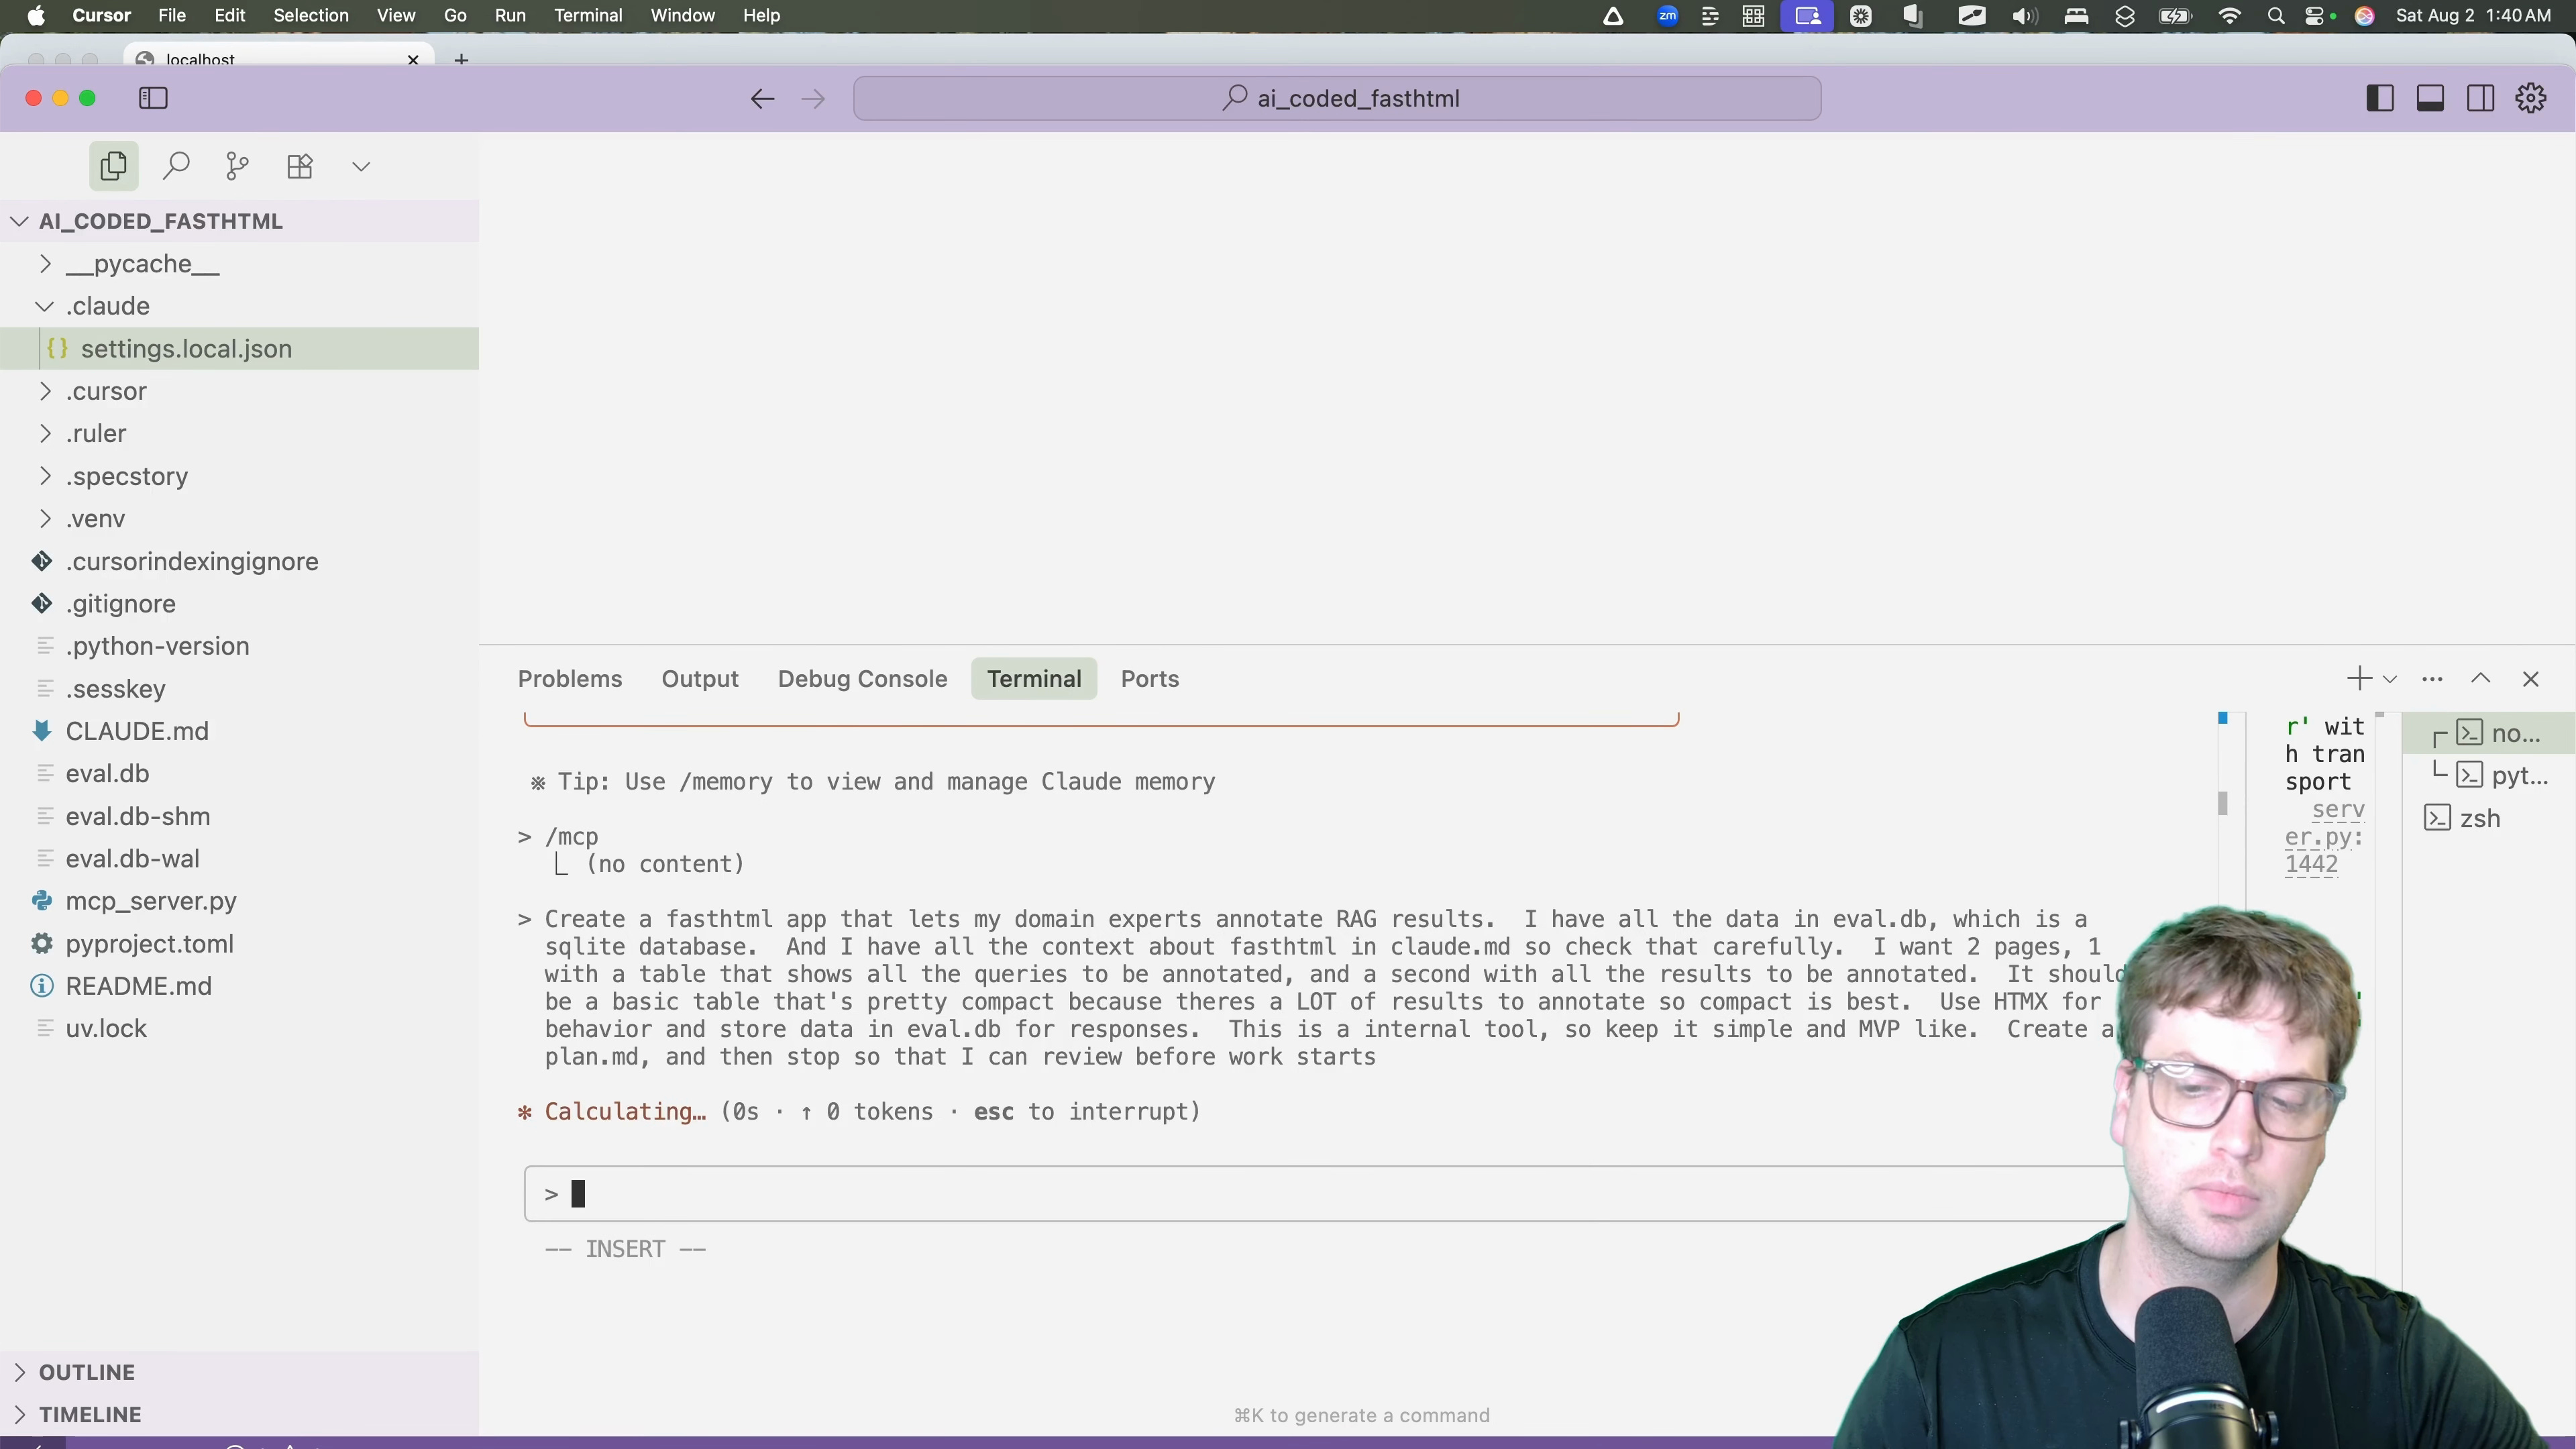
The last instruction is crucial. By asking it to create a plan and stop, I ensure I can review its proposed approach before it starts implementation. The AI begins by inspecting the database to understand the schema, which is exactly what a human developer would do [04:48].
Reviewing the AI-Generated Plan
The AI generates a plan.md file outlining its strategy. This is my chance to review the plan, catch potential issues, and simplify. AI models often tend to add unnecessary complexity or wierd tangents, and this review step is where we can prune that back.
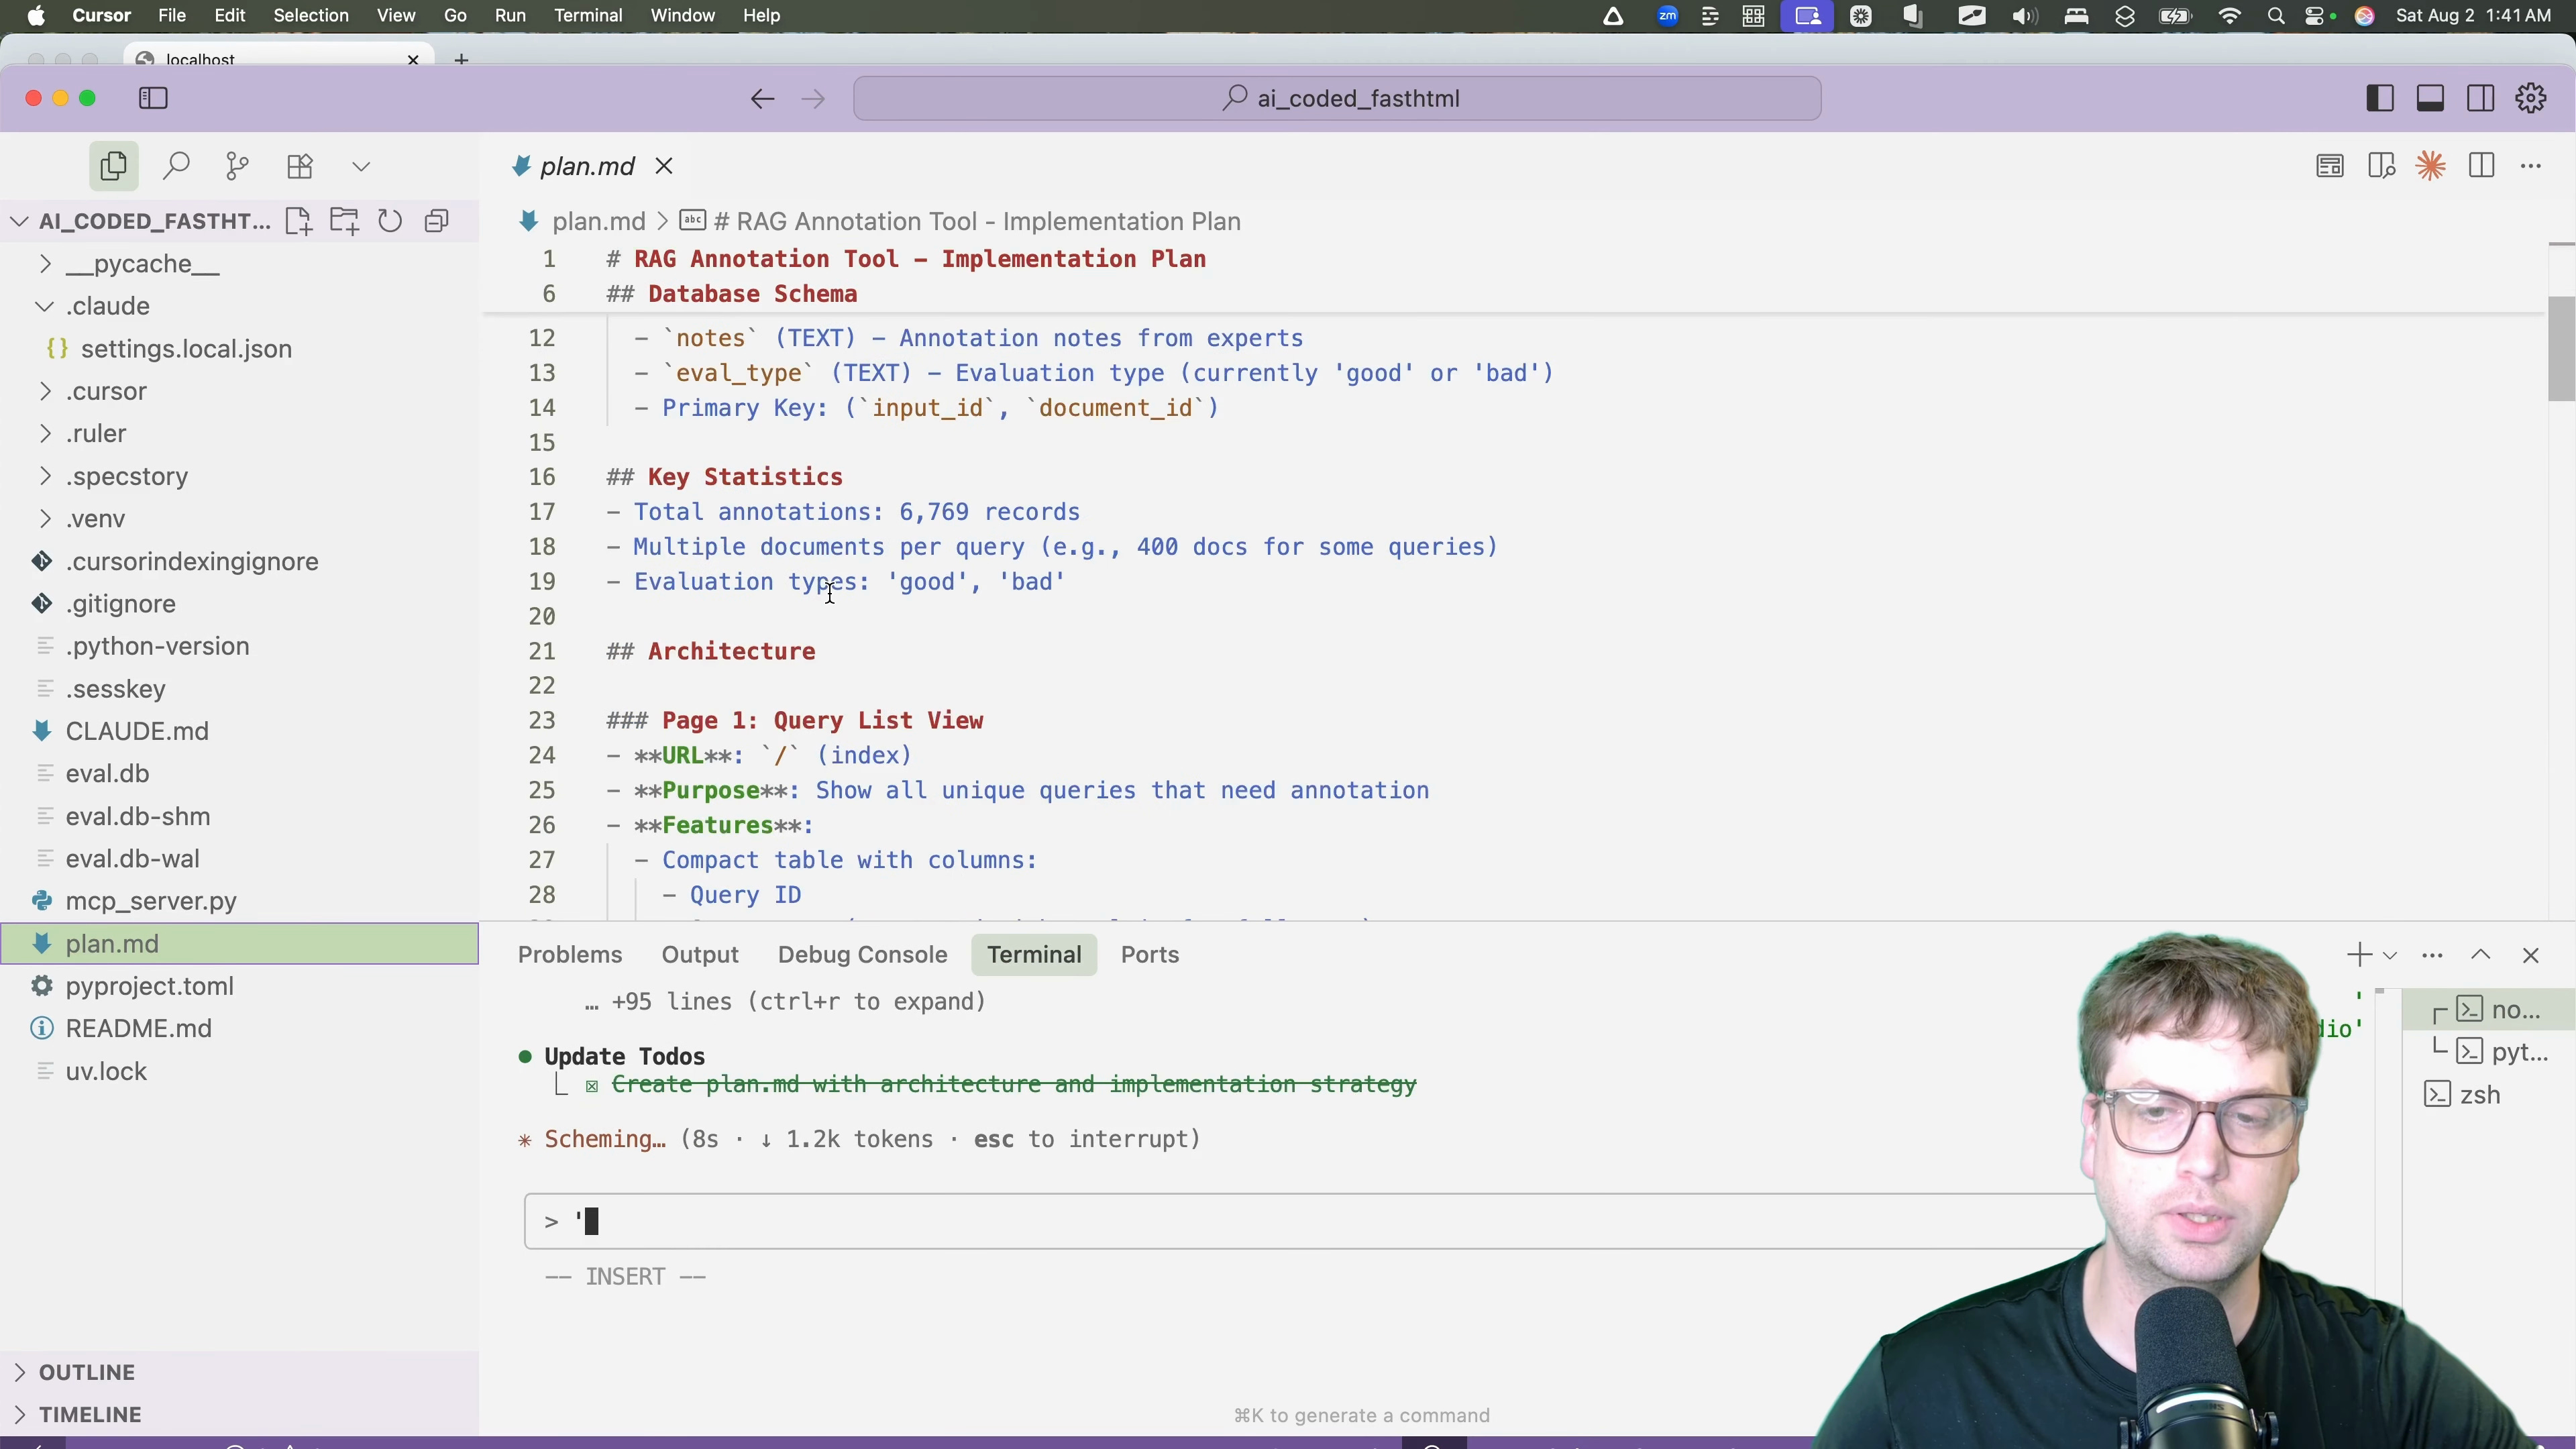
There were many nice-to-have features, but they aren't necessary for our MVP internal tool. I edited the plan.md to remove them, keeping the focus on the core requirements. I also found some things I didn't like about how it was going to accomplish things that I changed.
AI Implementation Process
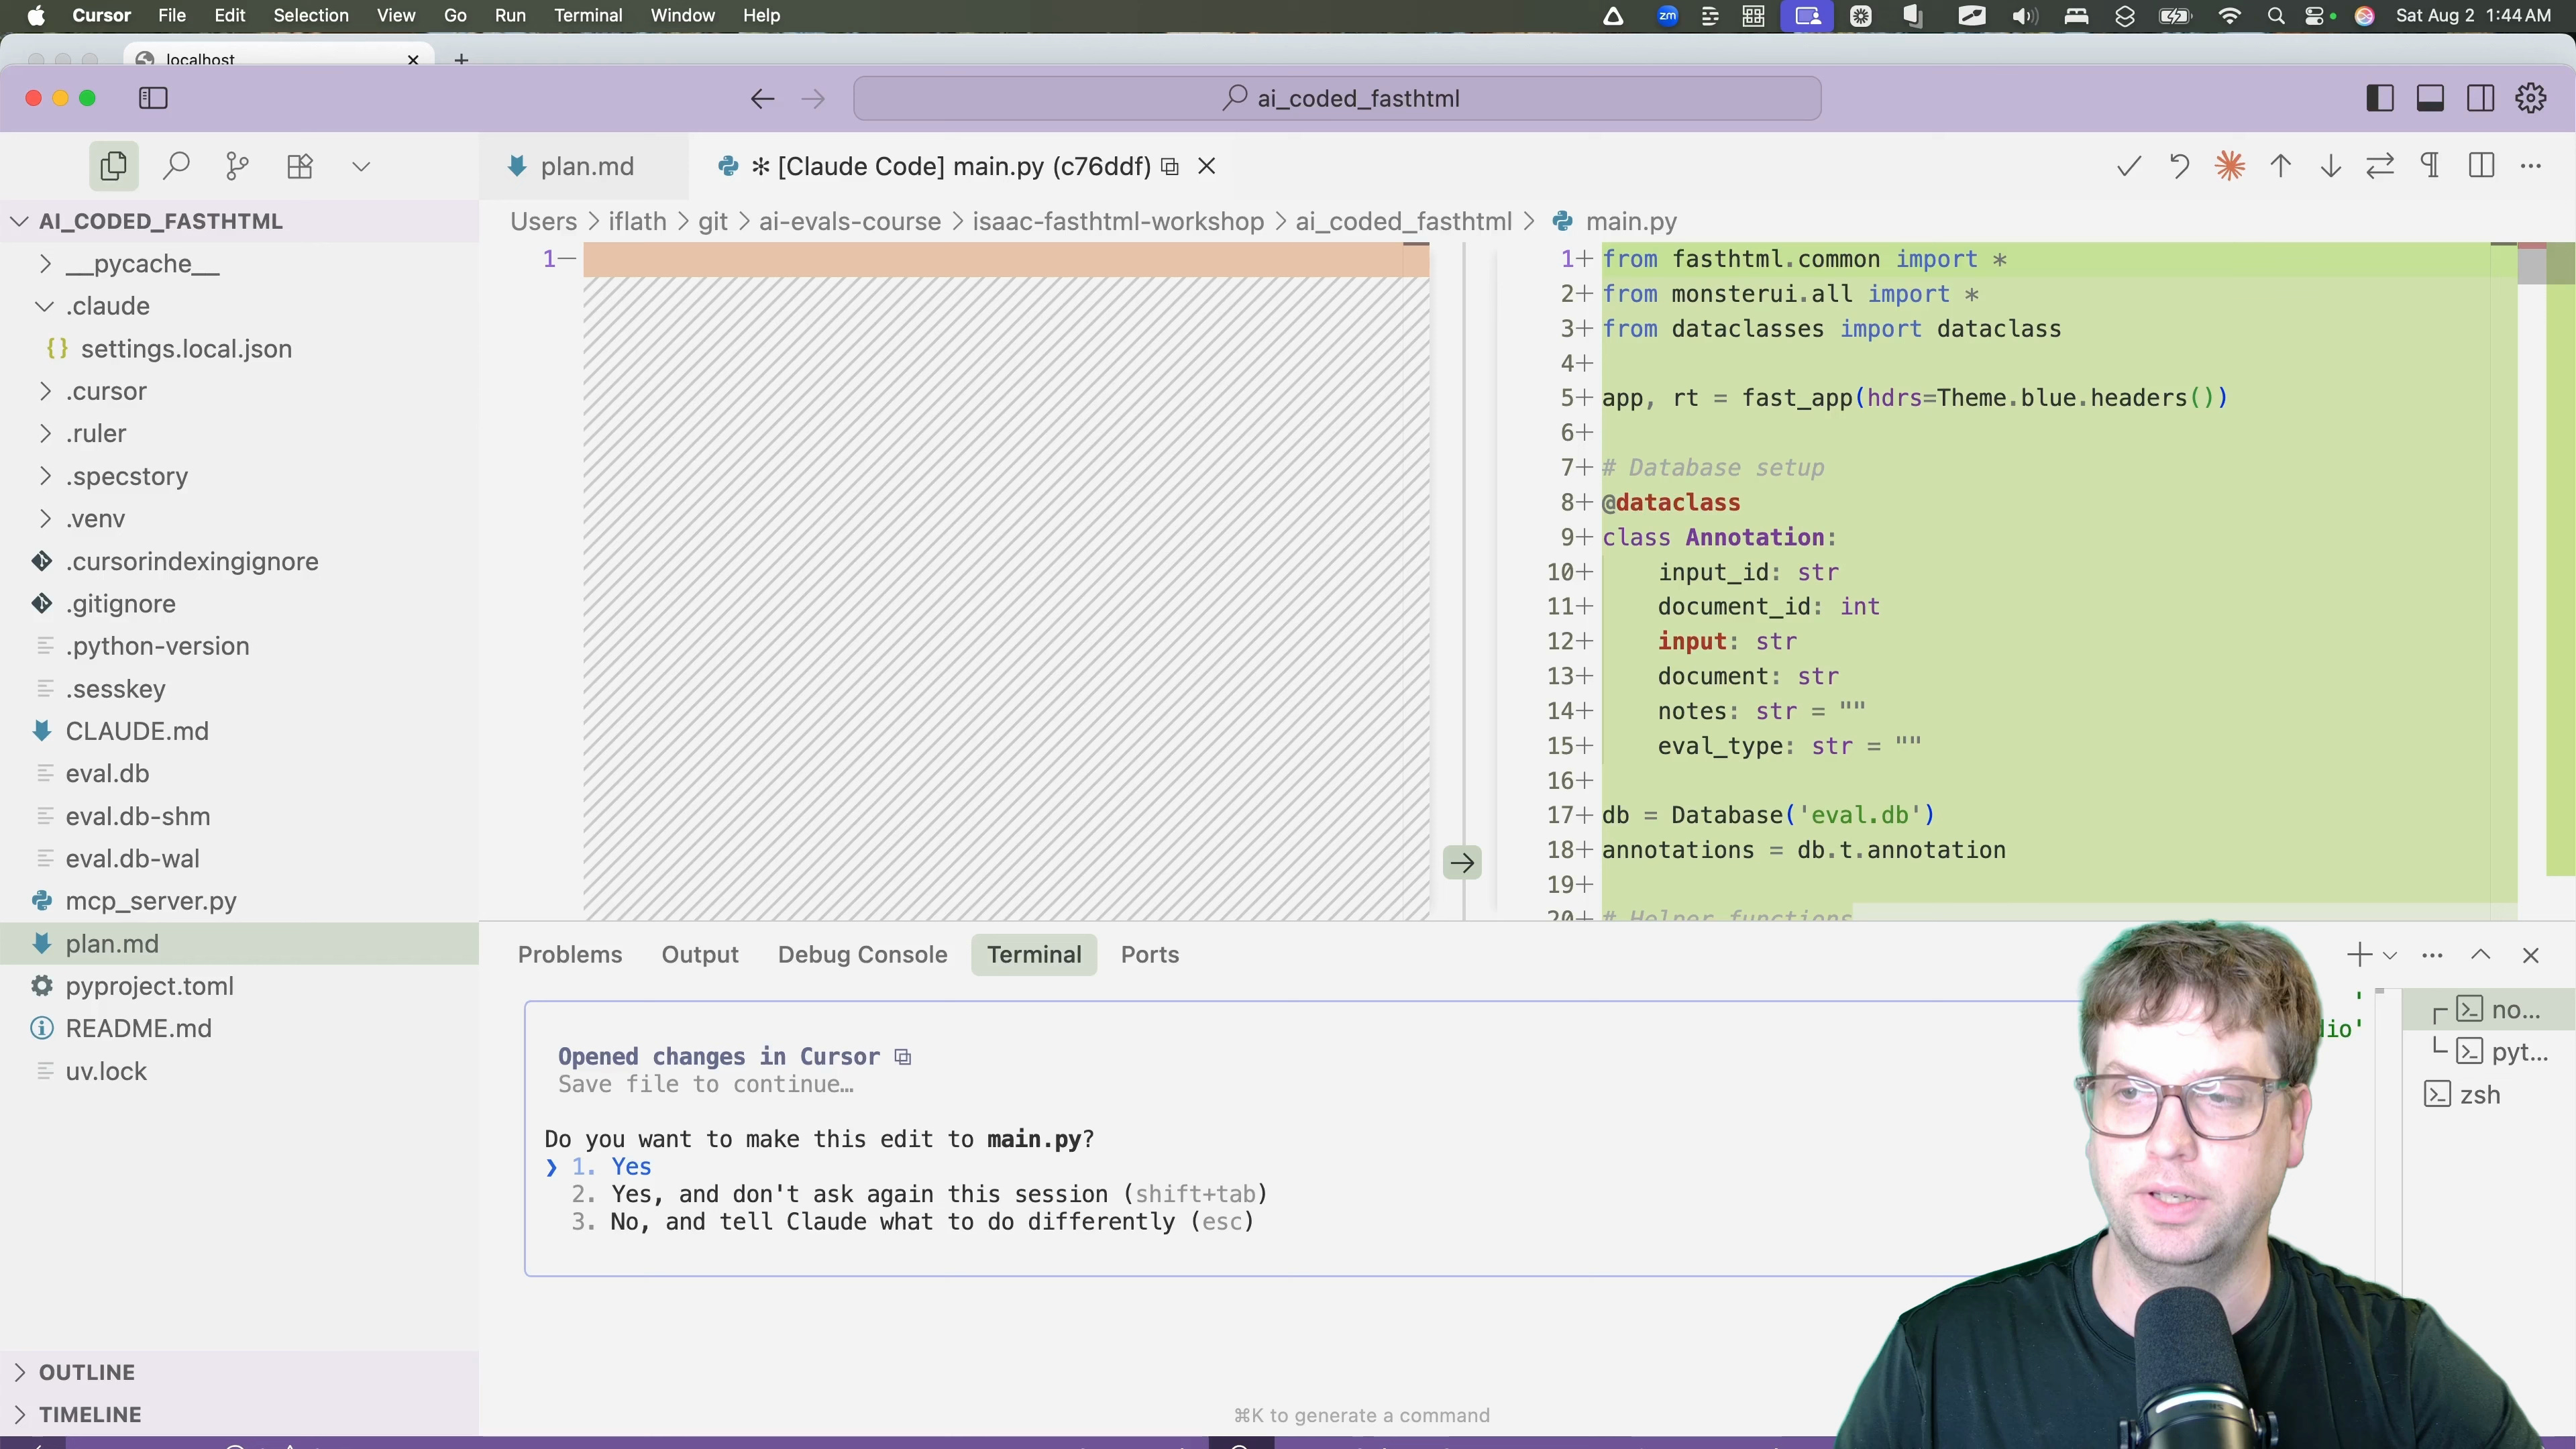
With the refined plan approved, I give the AI the green light to start coding.
The AI begins generating the code. One of the features I like about using Claude Code with VsCode/Cursor is the inline diff view, which allows me to see and modify the changes before accepting them in my IDE [07:48].
Automatic Testing and Debugging
This is where the agentic workflow truly shines. After generating the initial code, the AI uses the tools provided by the MCP server to test the application automatically [08:15].
It starts the app, navigates to the homepage, and begins clicking on links.
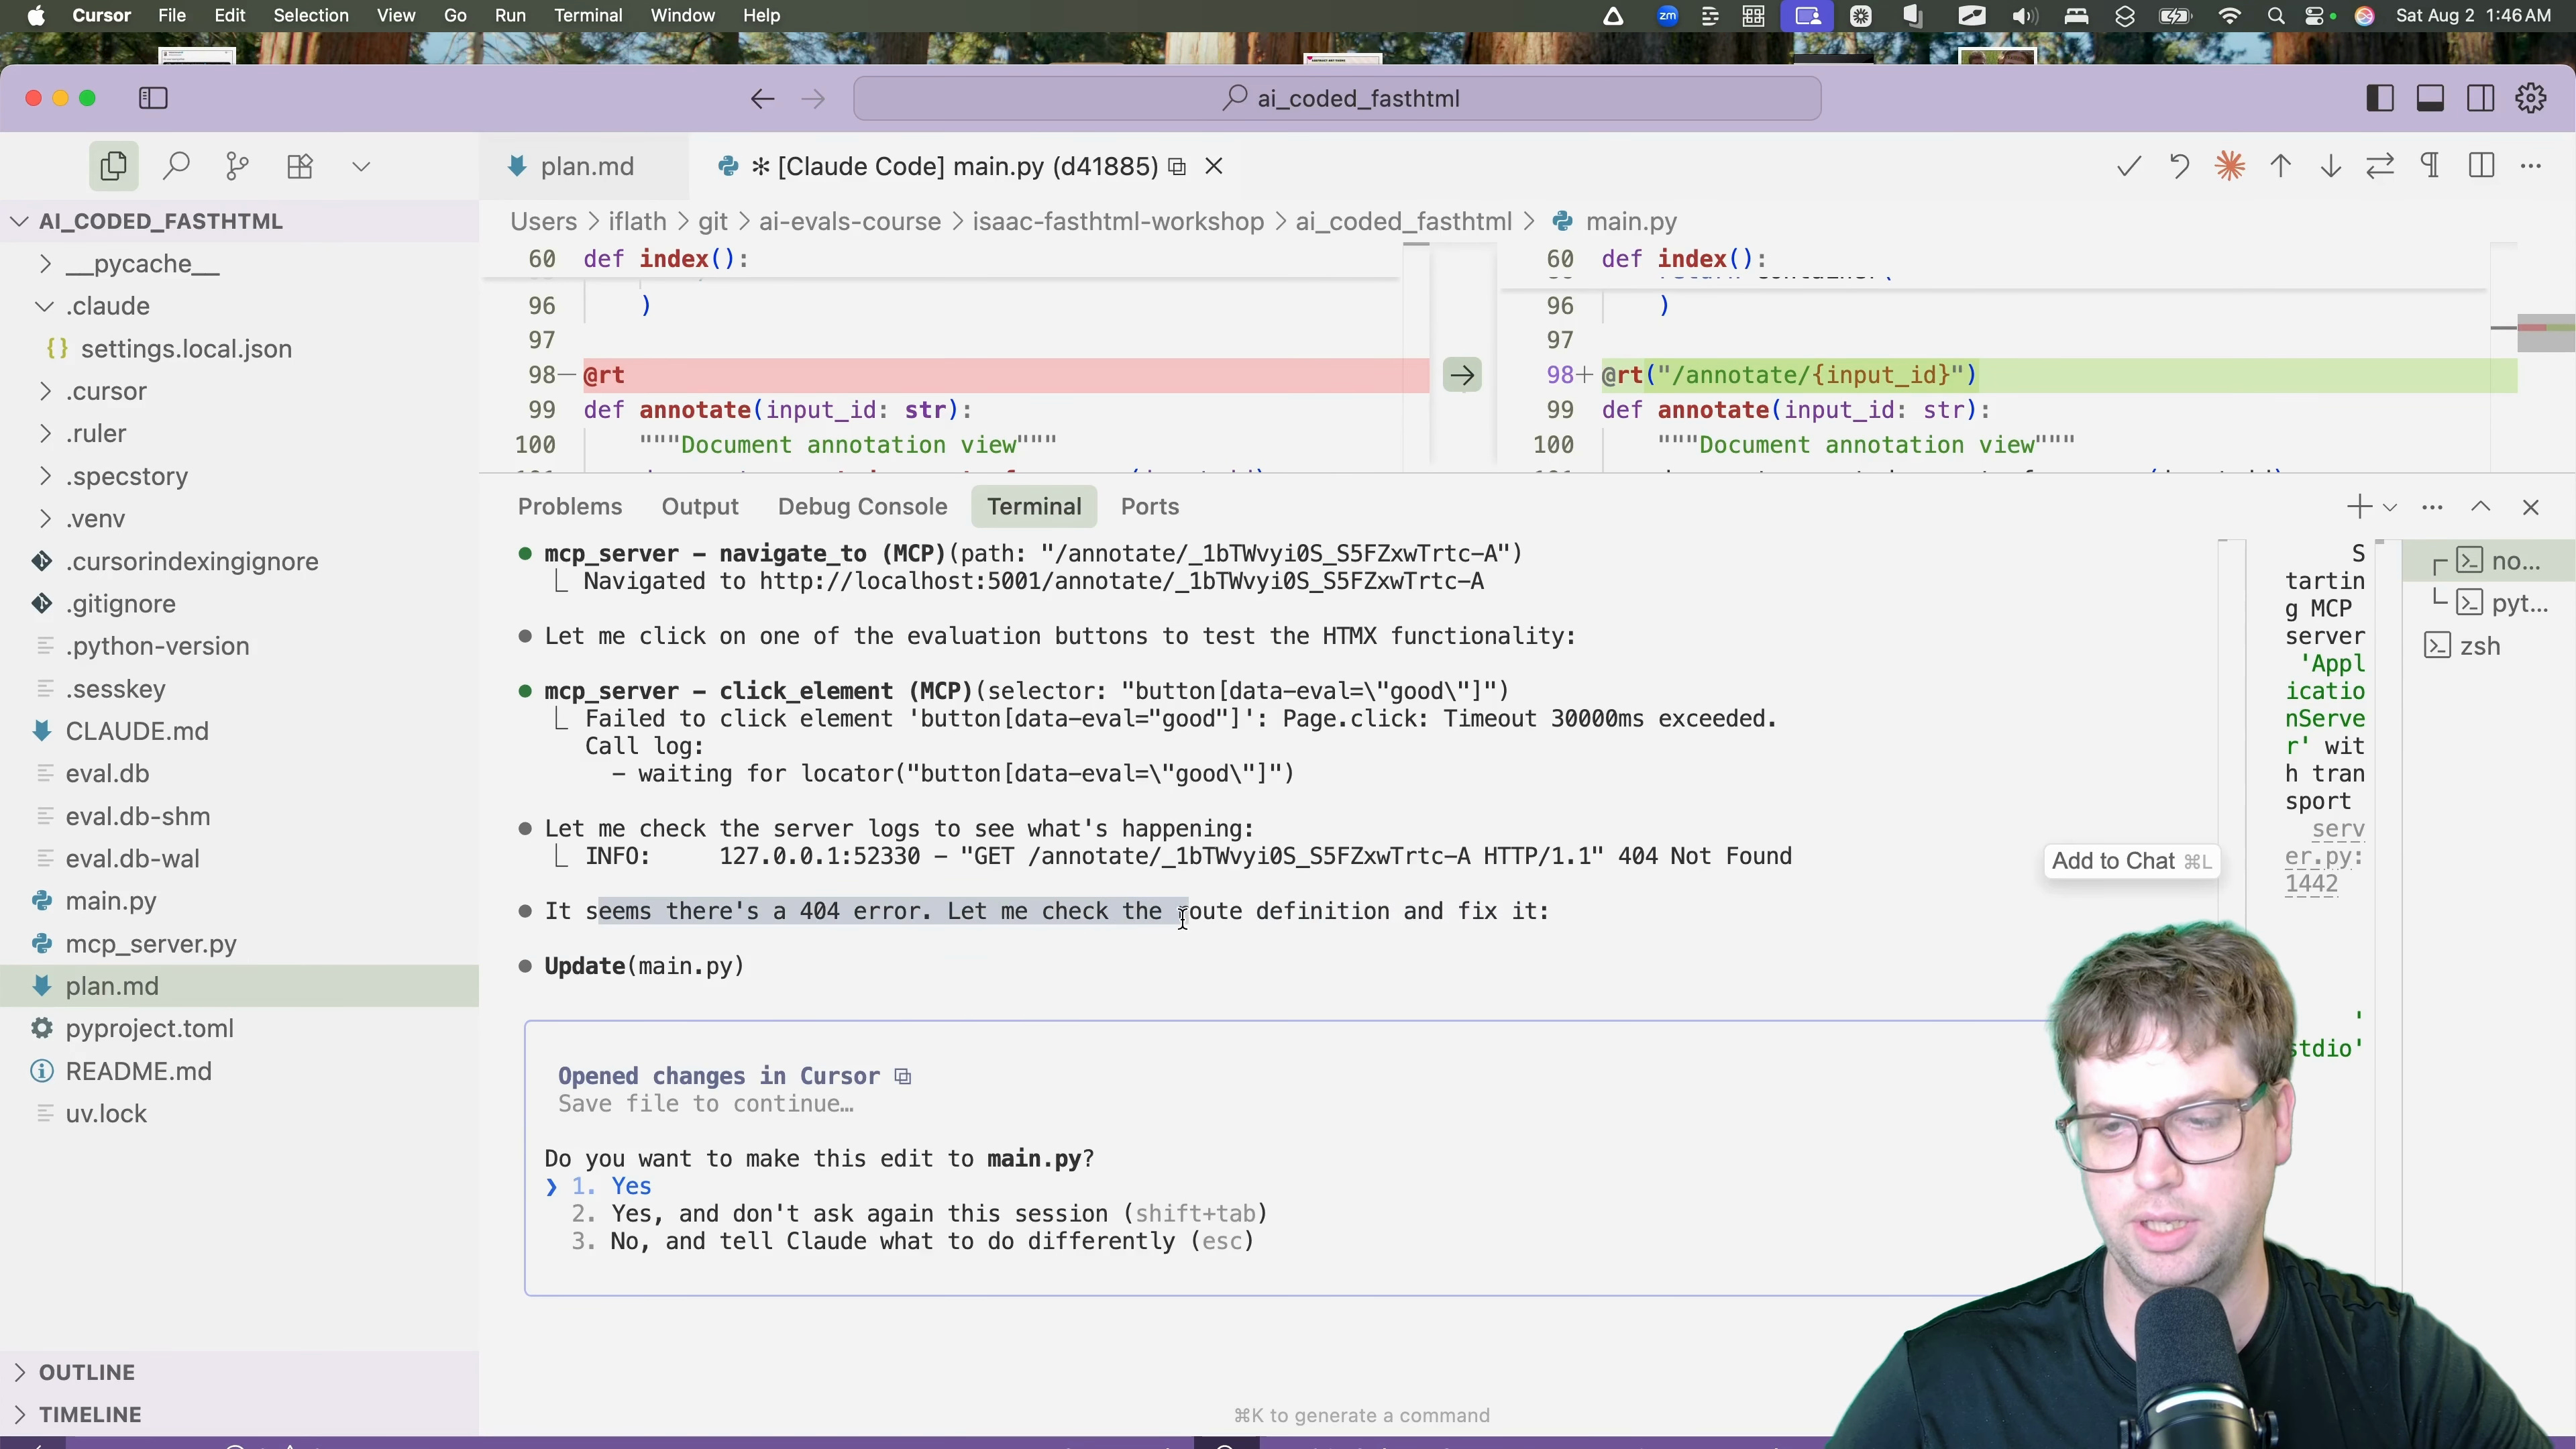
During its testing, it discovers a 404 error when trying to view a query's documents. It sees the error in the server log, identifies the problem in the routing, and generates a fix [09:27].
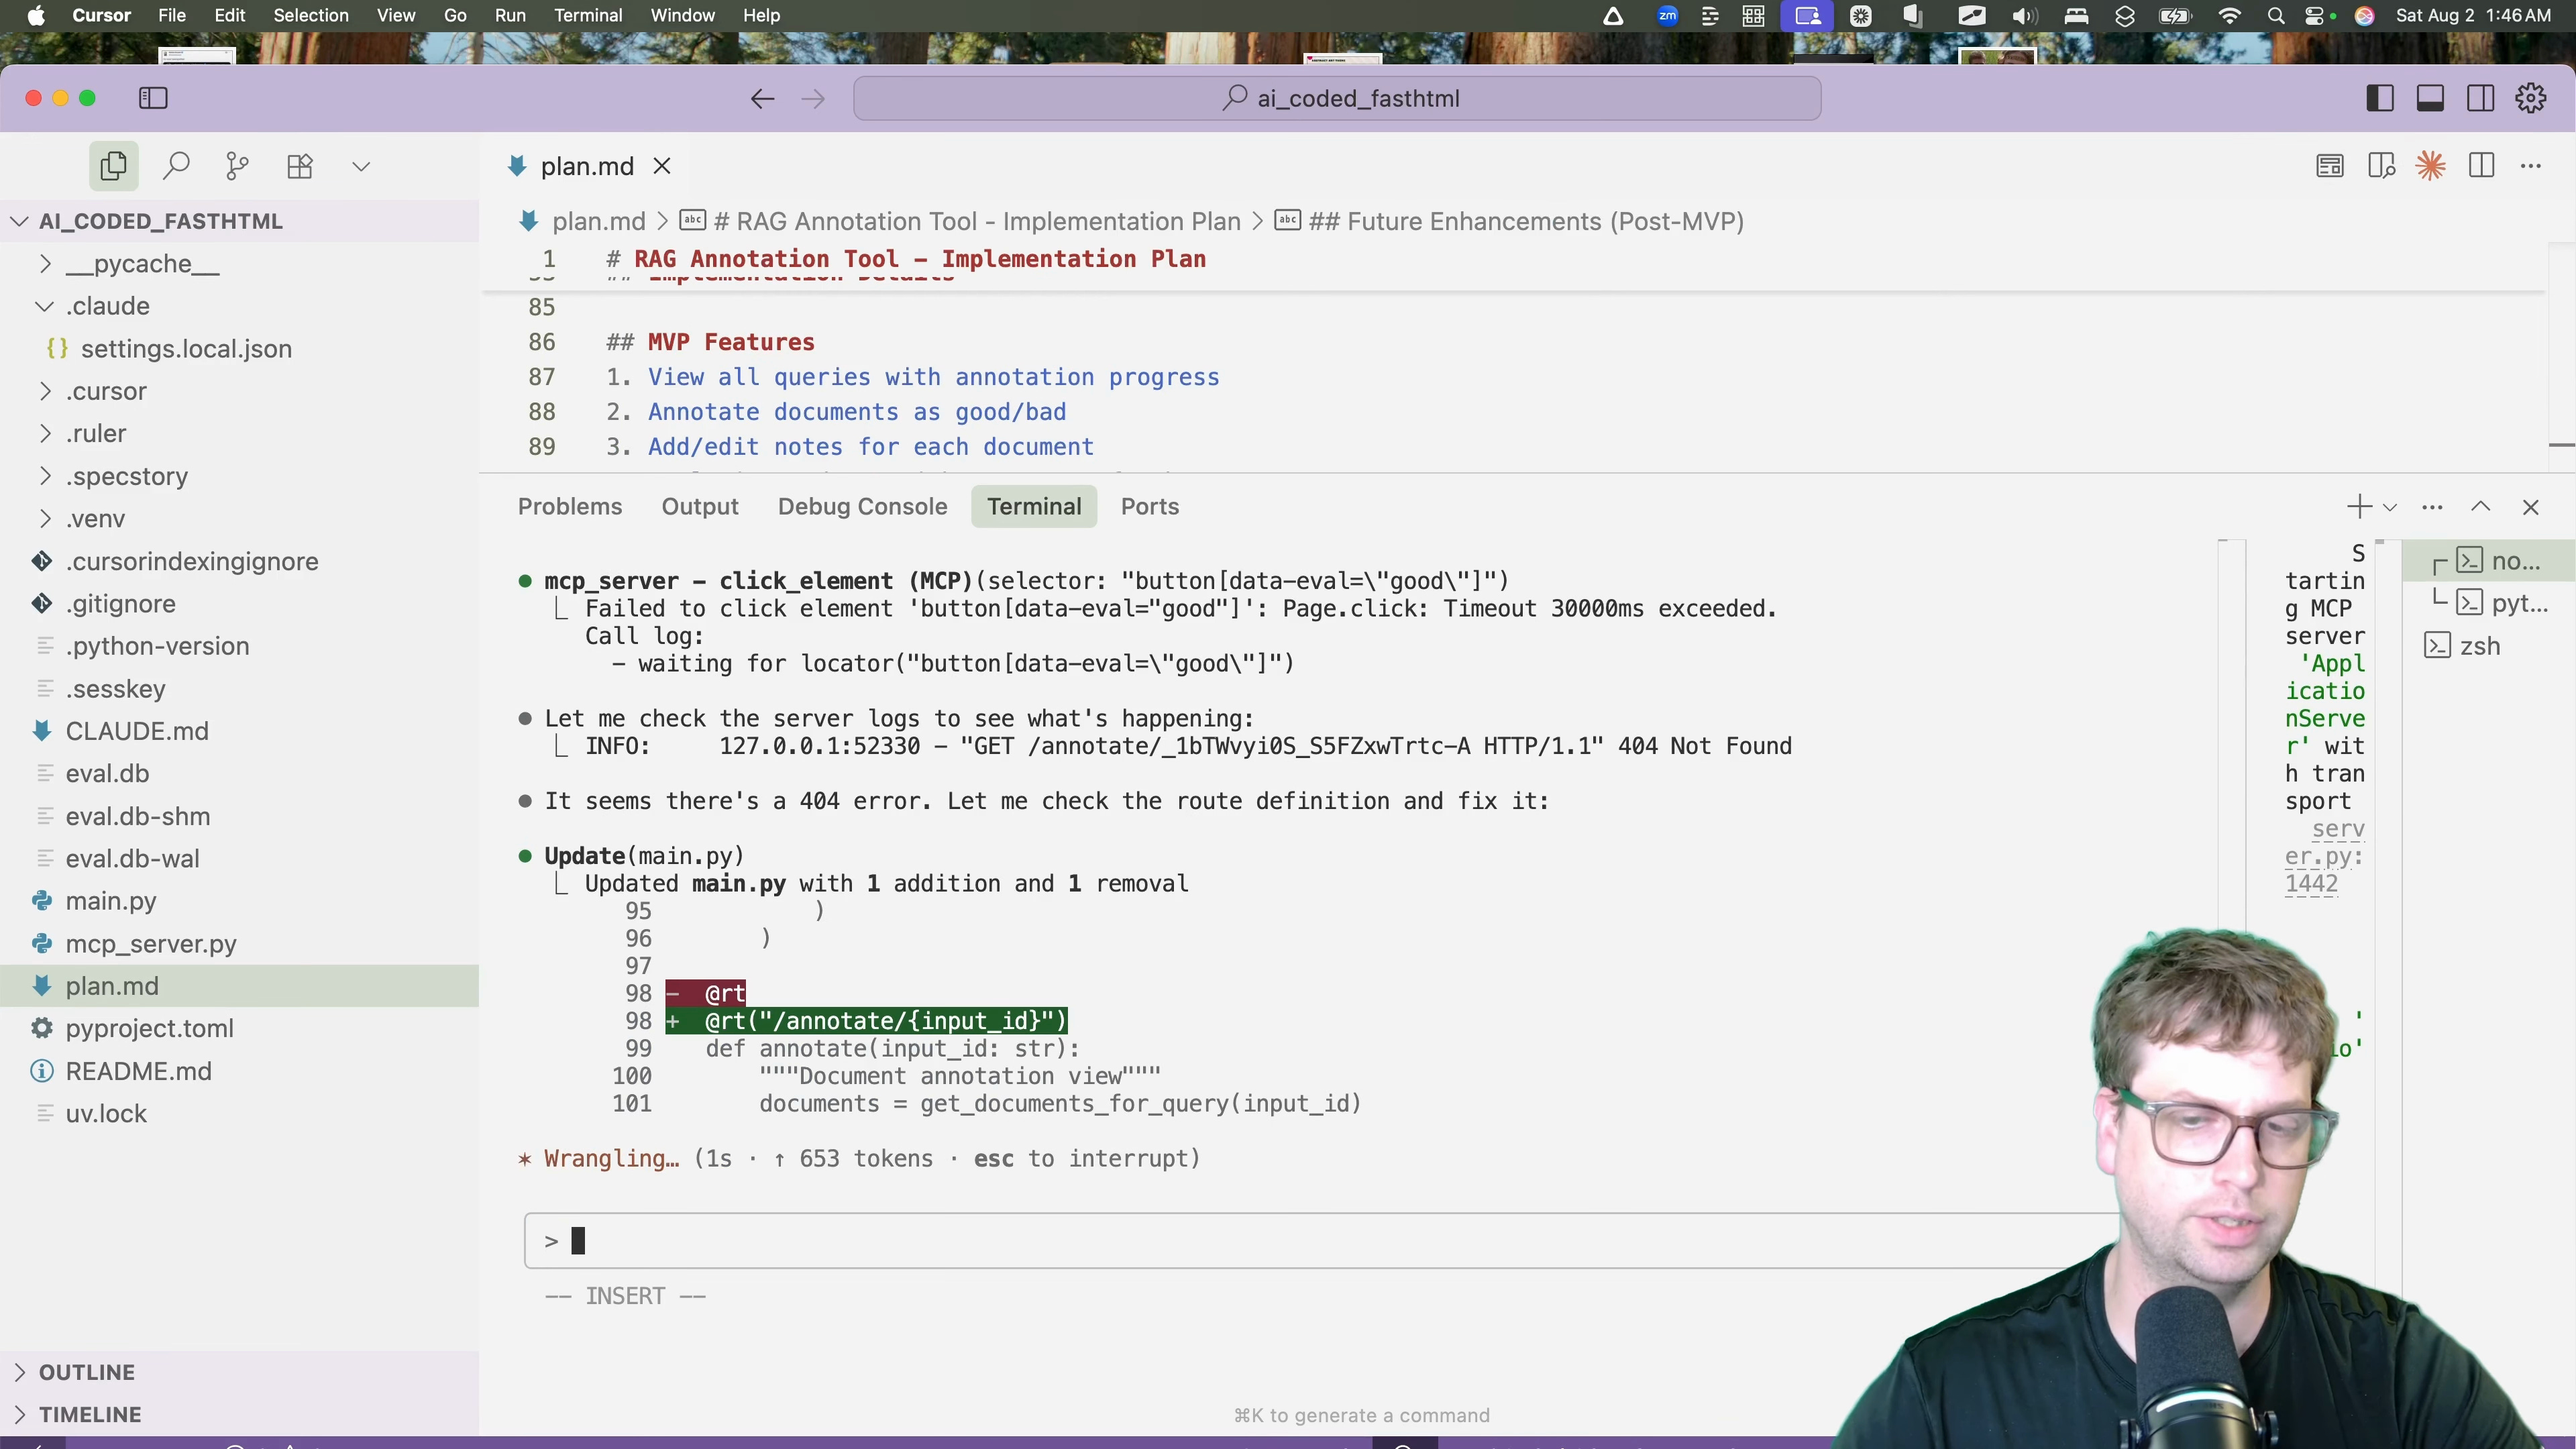
It continues this loop:
This iterative process of coding, testing, and debugging, all handled by the agent, catches numerous small errors before I have to get involved.
Final Application Demo
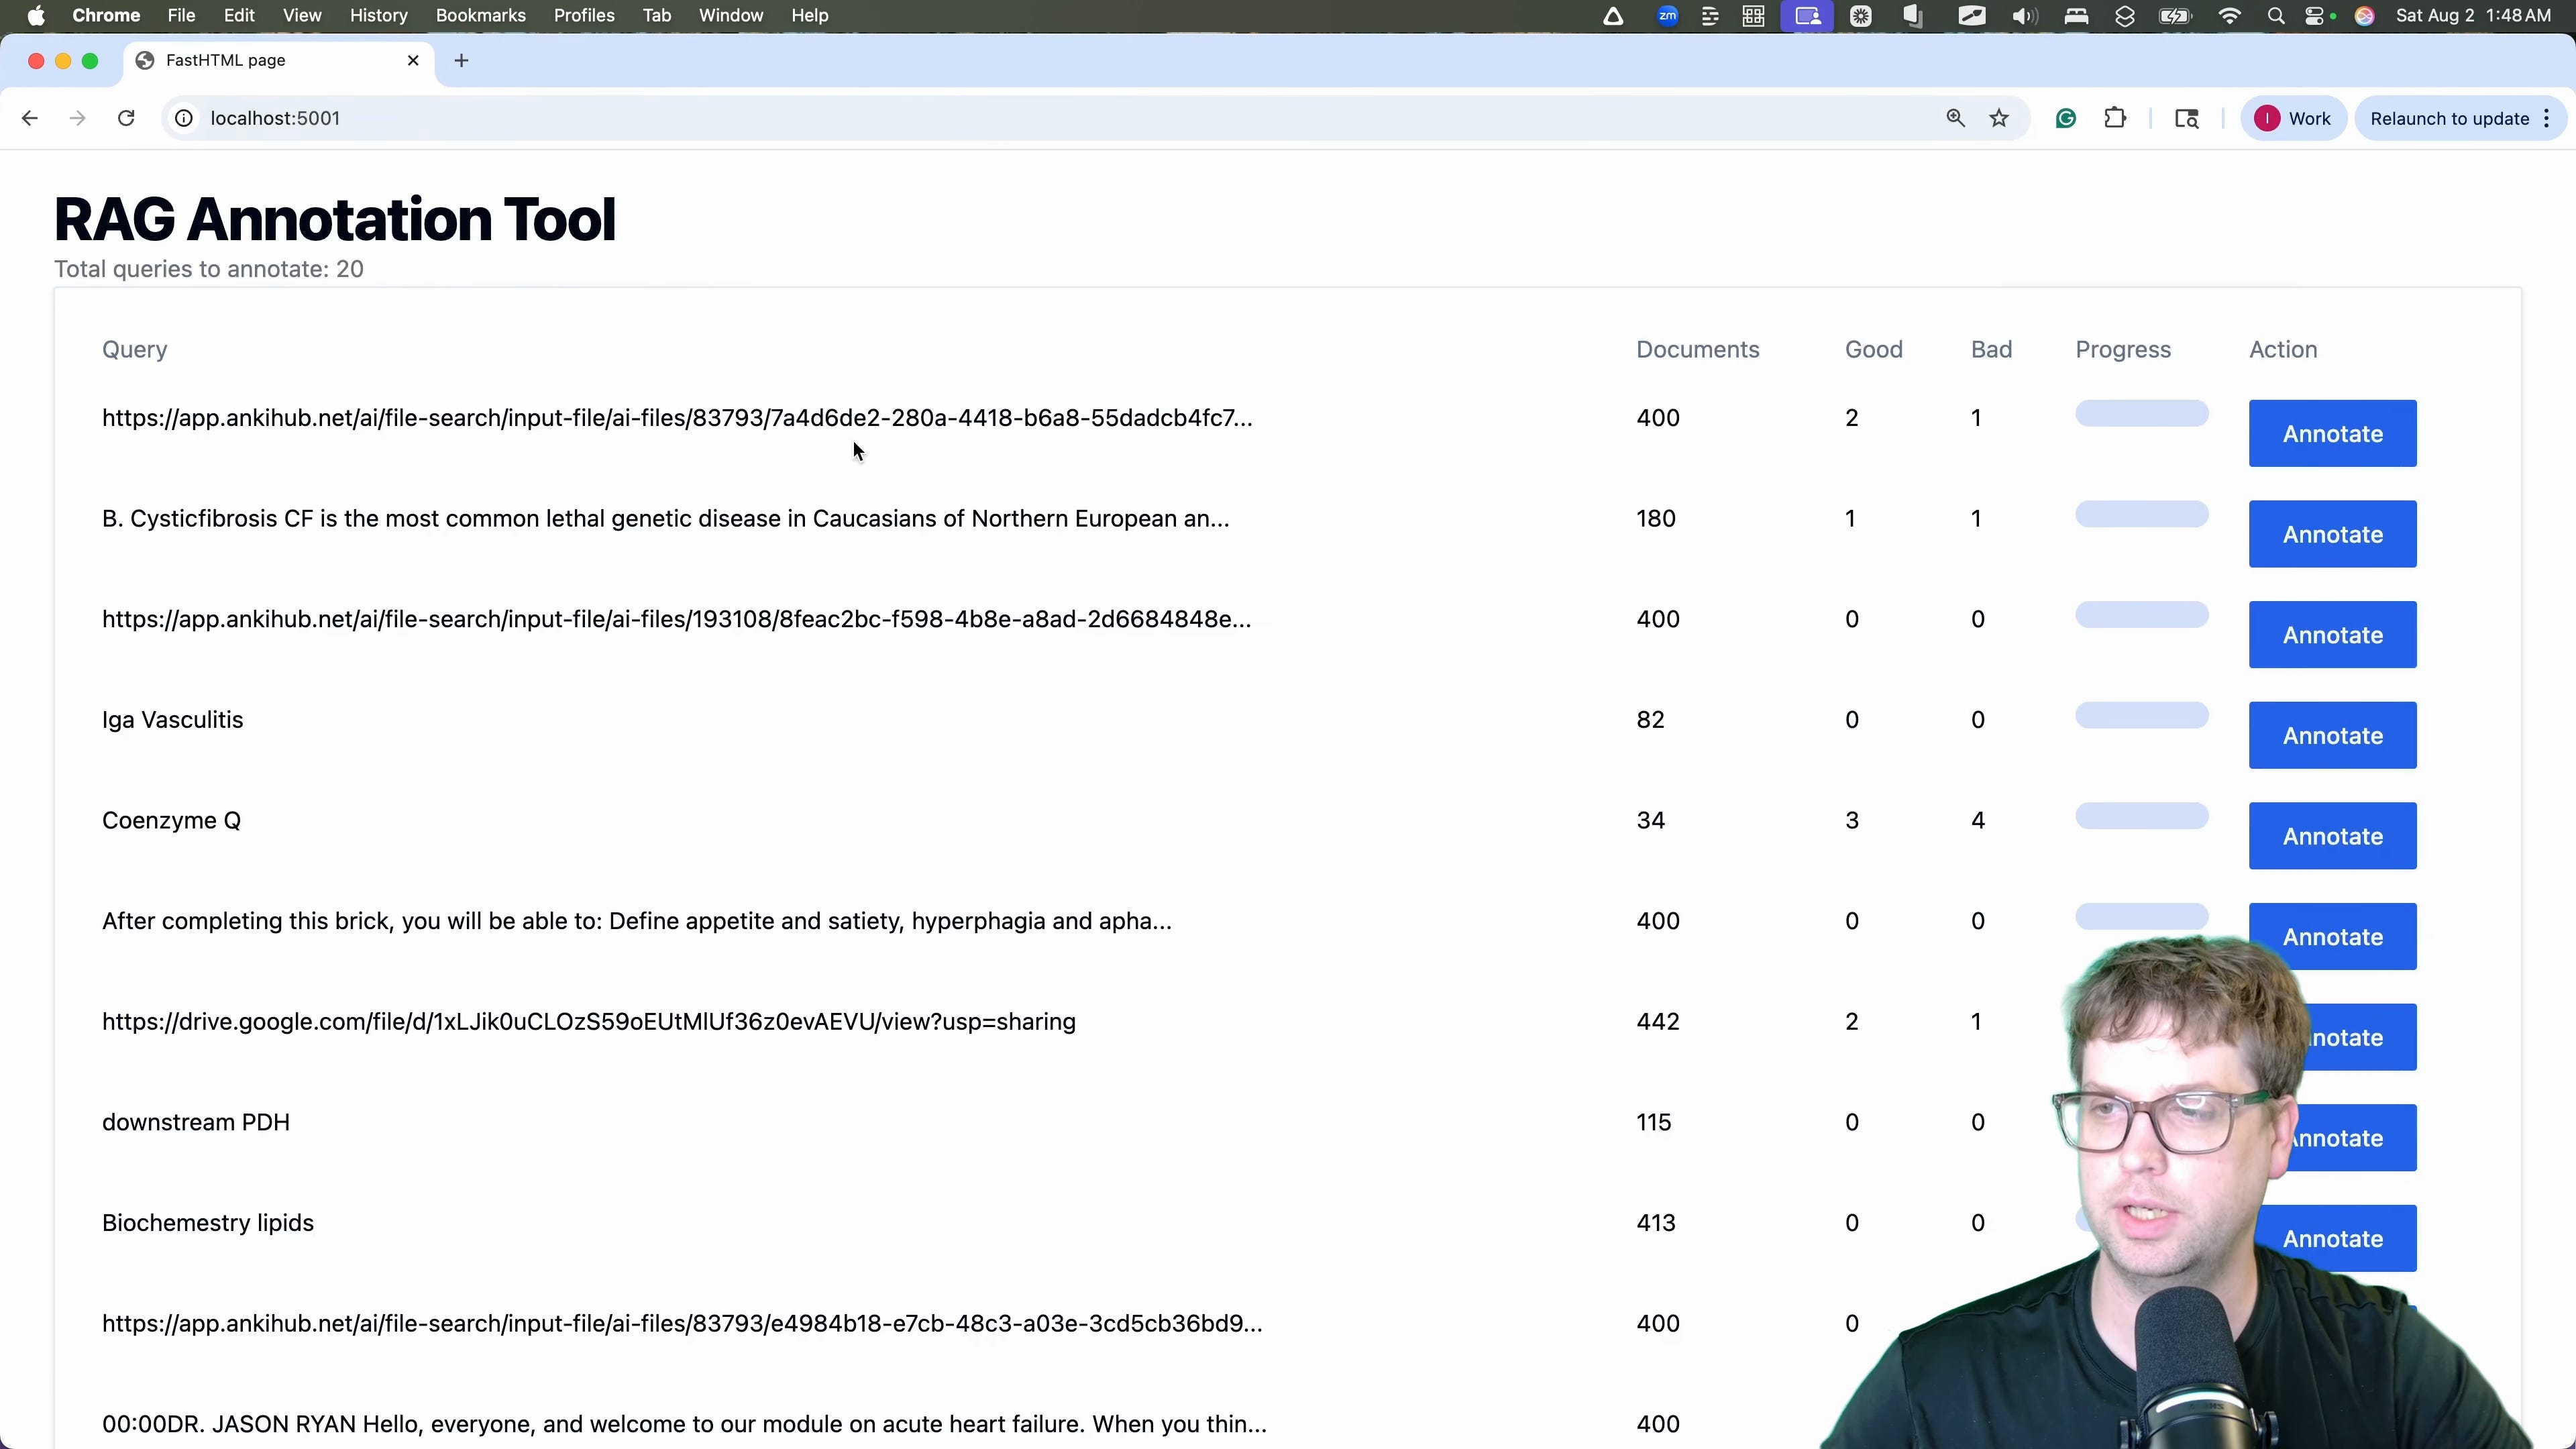
After a few iterations, the AI produces a fully functional app. It has a main page listing all the queries to be annotated.
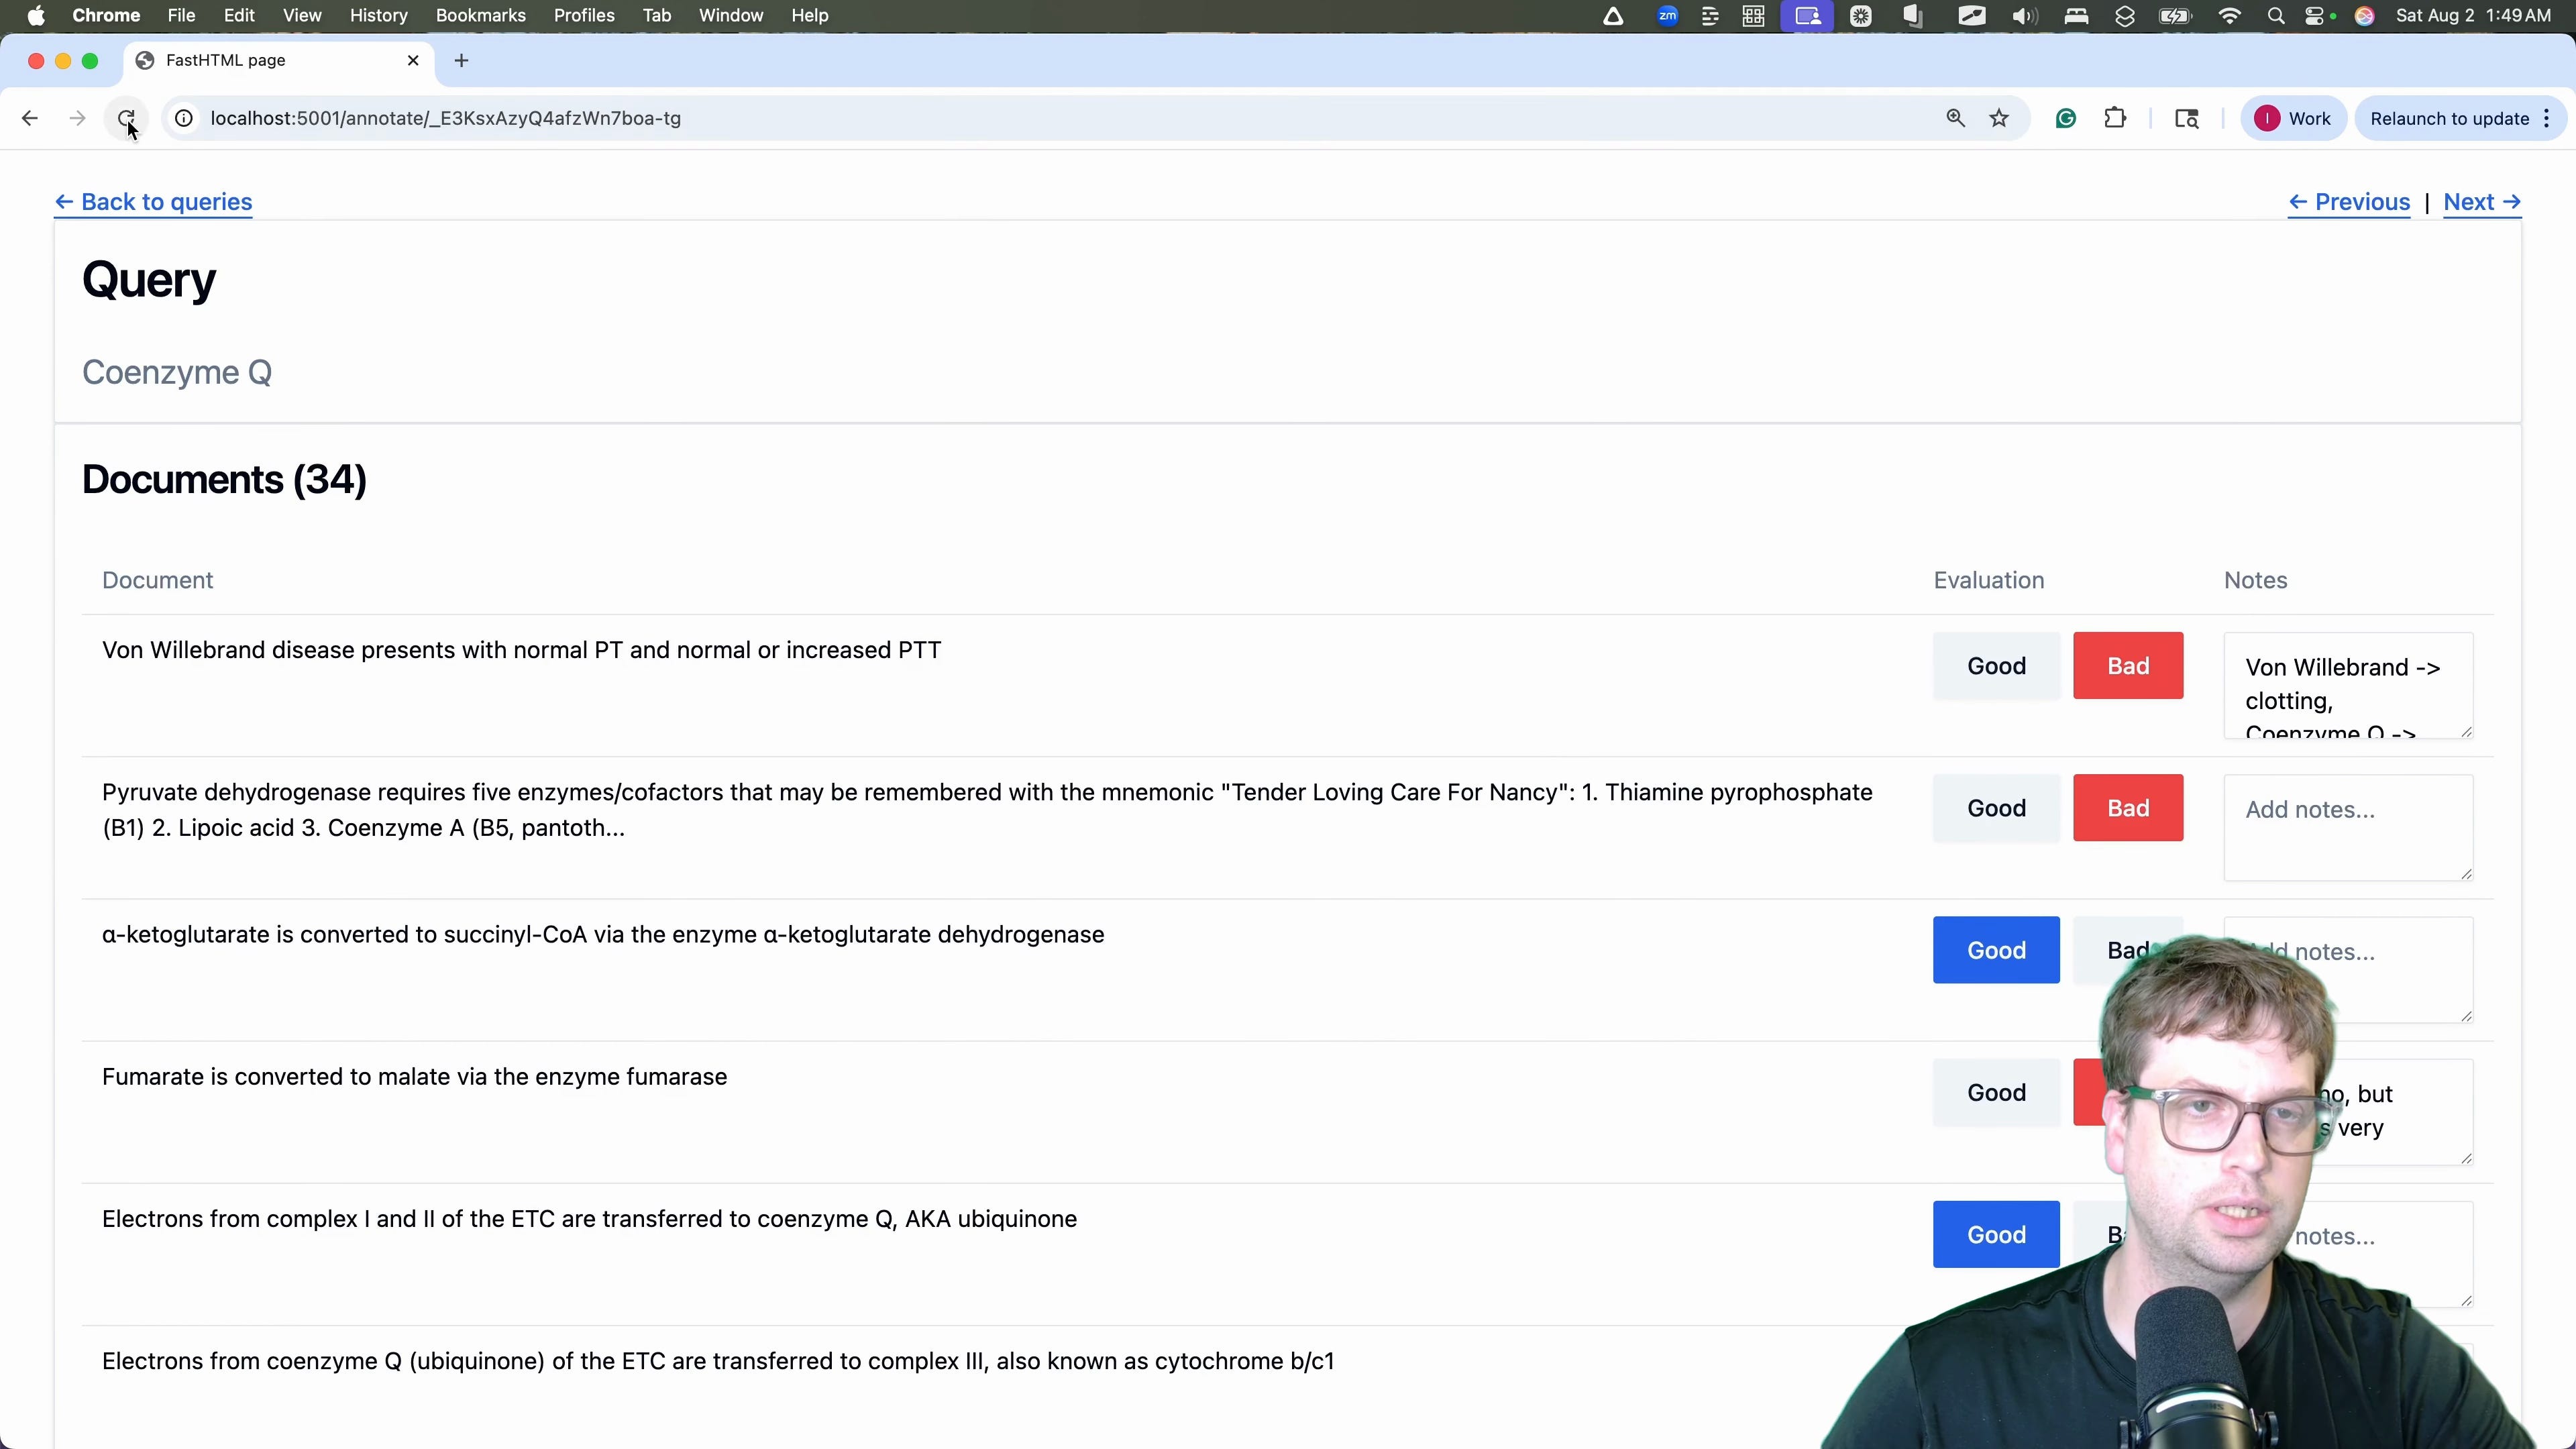
Clicking on a query takes you to the annotation page, where you can see all the documents retrieved for that query. Each document has "Good" and "Bad" buttons and a notes field for qualitative feedback [10:42]. The changes are saved back to the database instantly via HTMX.
We can see the notes are persisted by refreshing the page or navigating away and coming back. In just a few minutes, with a high-level plan and an agentic workflow, we have a perfectly functional internal tool.
Resources and Next Steps
Join our course to learn more about how to effectively use AI for coding
